
Why Cake’s Cosmetic Pack is a top-tier texture pack mod for Minecraft 1.21.124
Developed by the talented creator Cakeofcraft, Cake’s Cosmetic Pack stands out as a highly recommended selection for your Minecraft client. It is fully optimized, compatibility-tested, and brings a major upgrade to the gameplay experience in Minecraft version 1.21.124.
⚙️ Quick Resource Specs
| Mod Creator | Cakeofcraft |
| Latest Version | 1.21.124 |
| Supported Game Versions | 1.21.124, 1.21.123, 1.21.122, 1.21.121, 1.21.120 |
| File Size | 170.17 KB |
| Last Updated | |
| Total Downloads | 42,196 downloads |


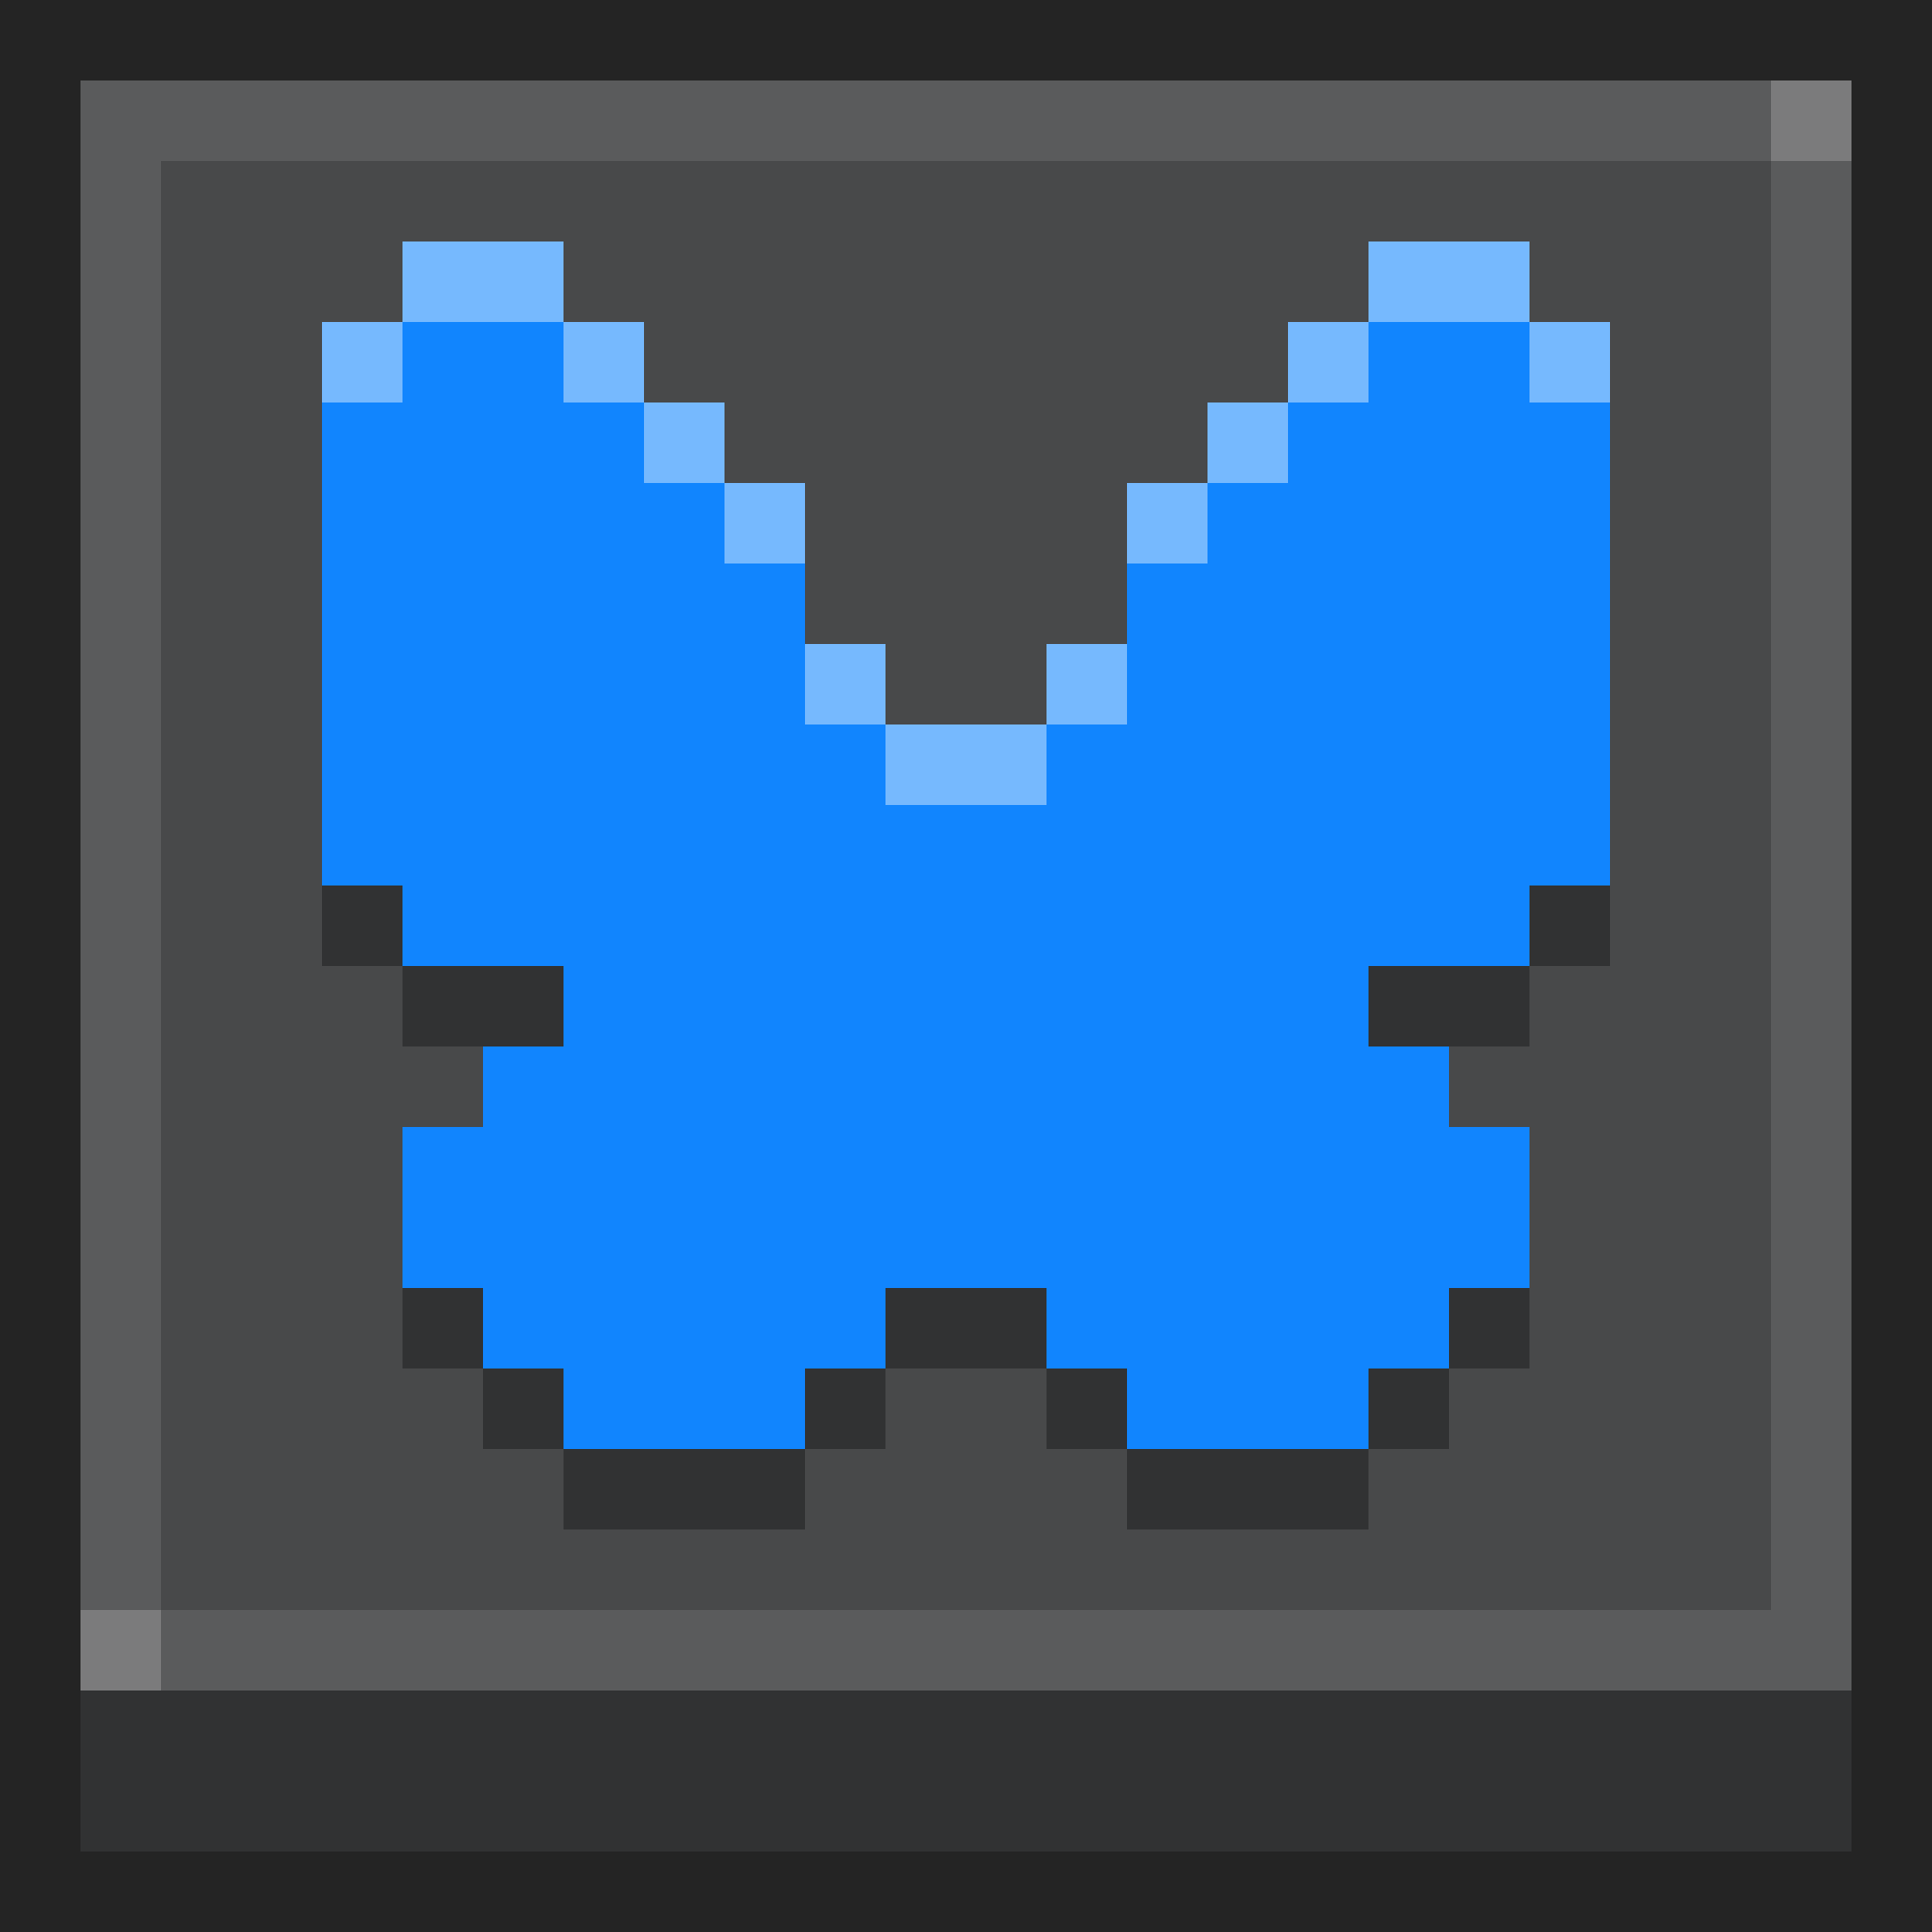
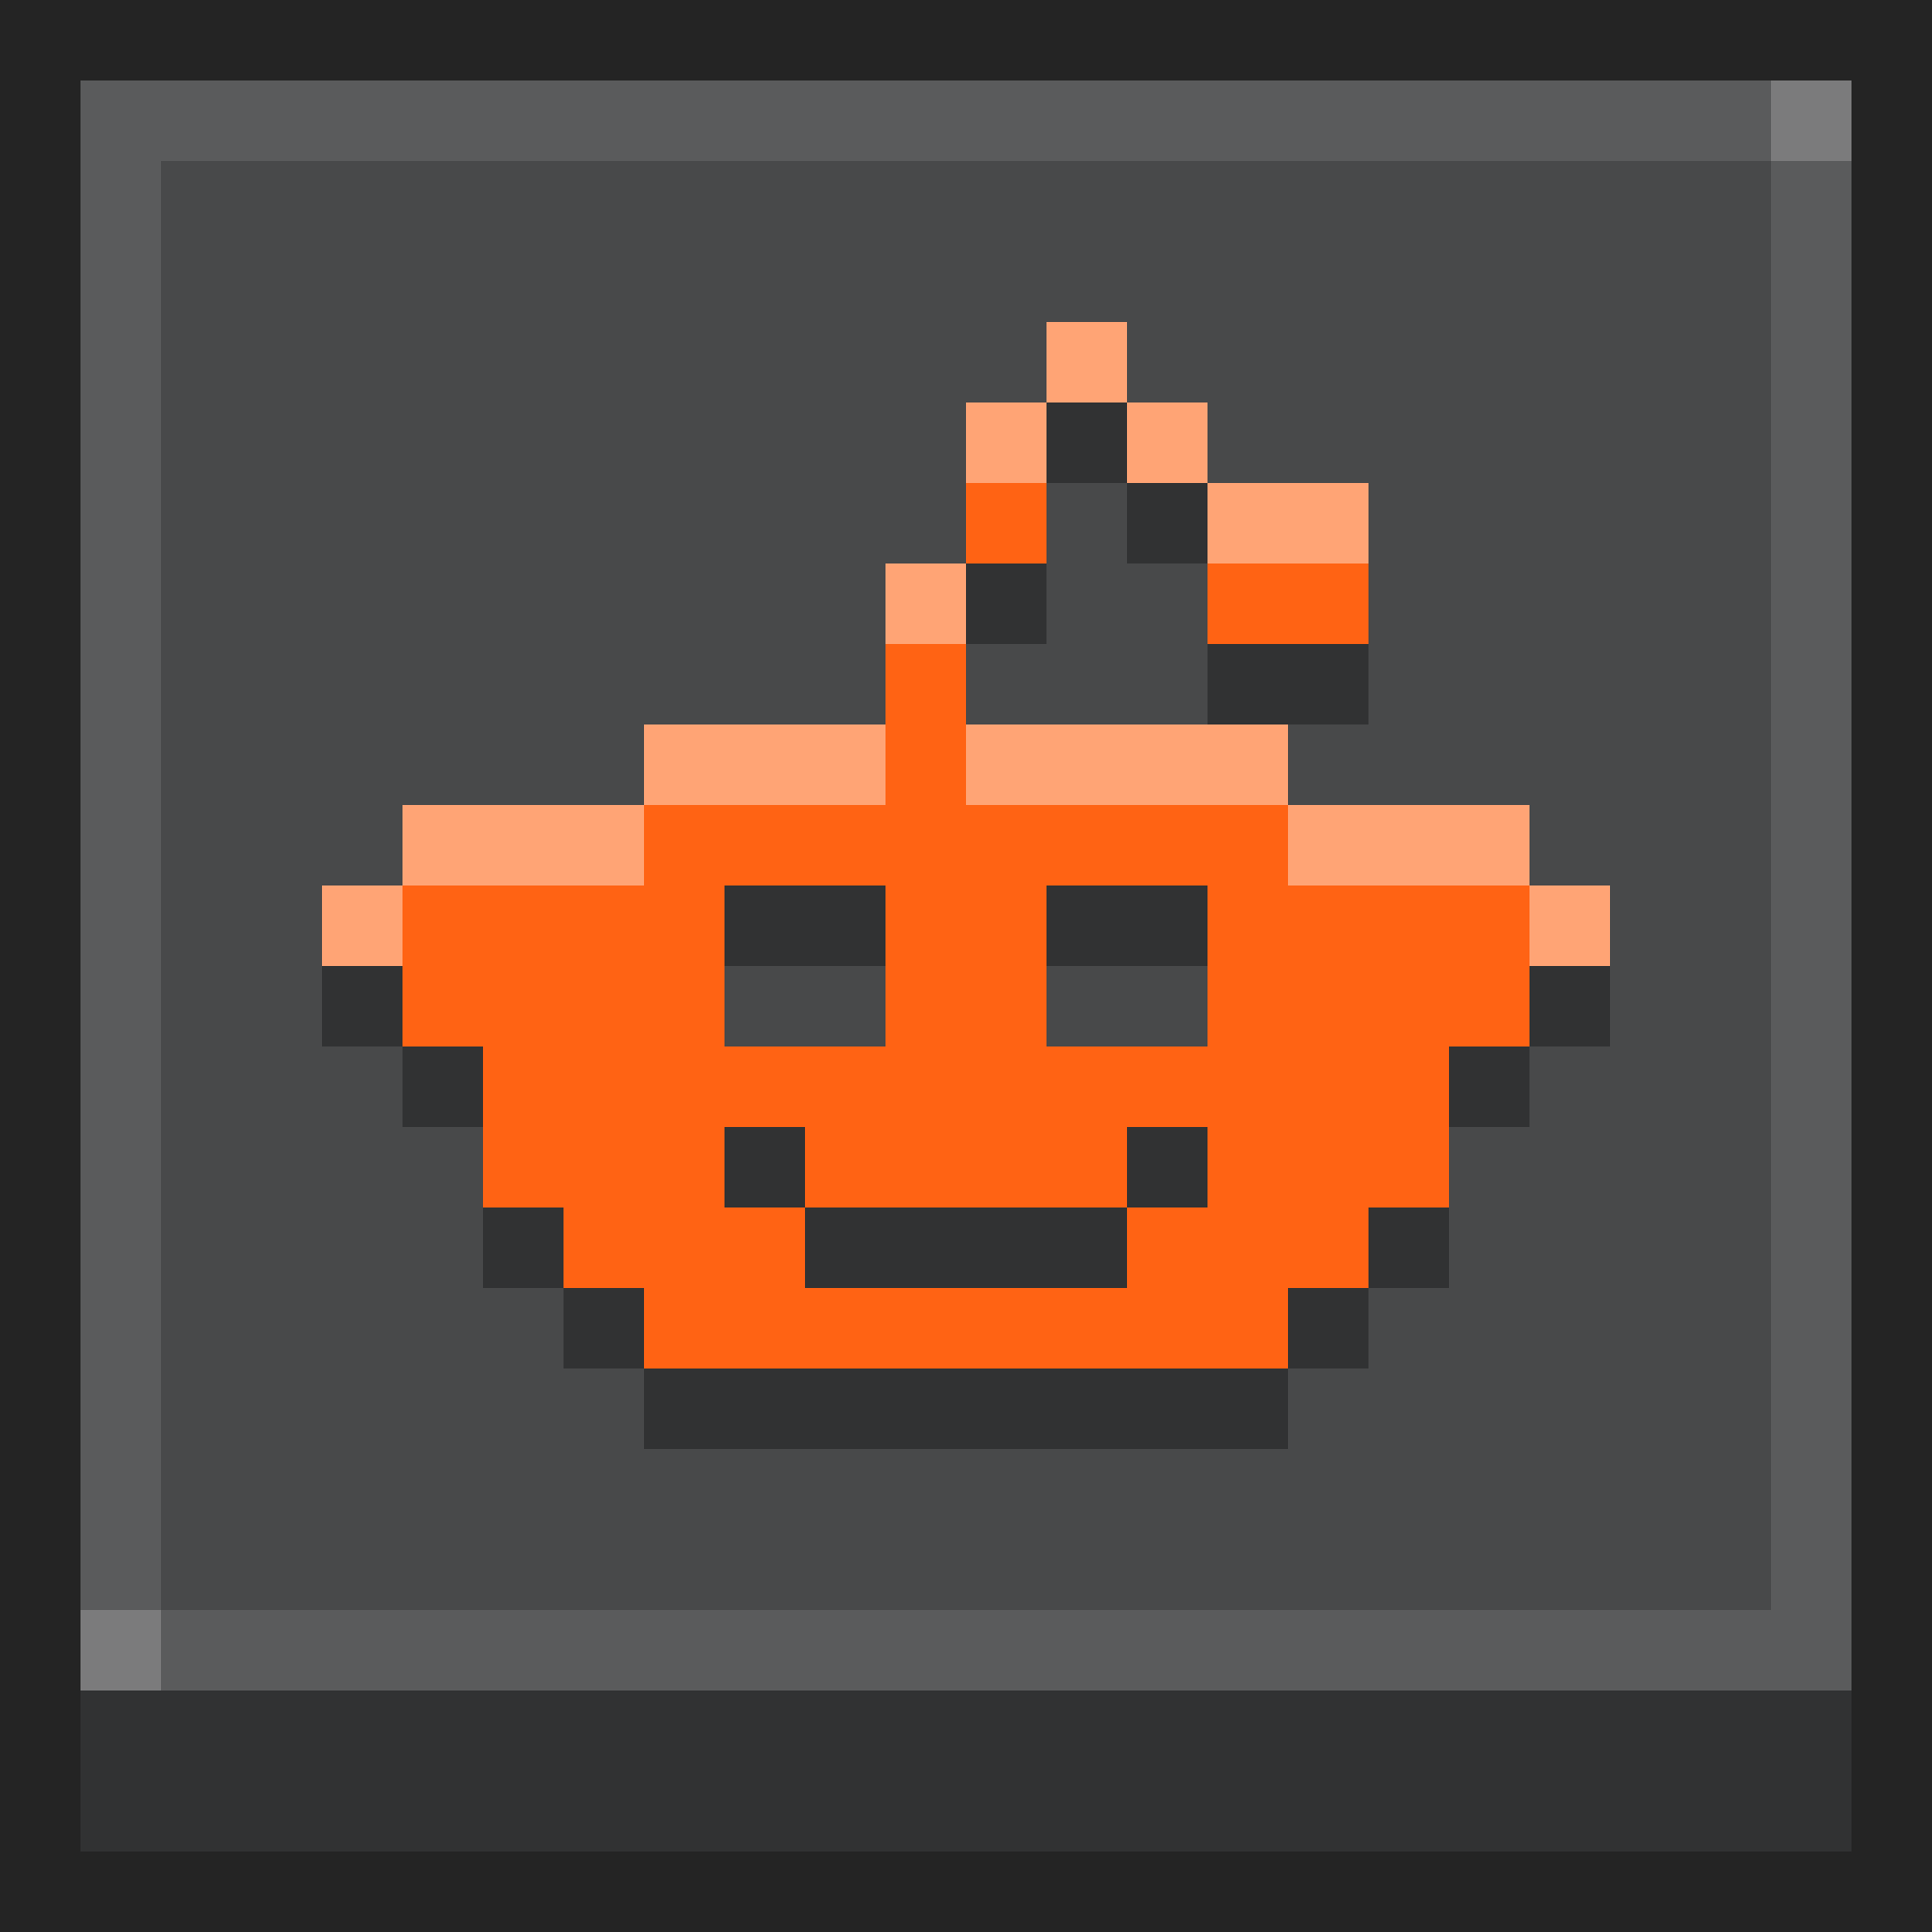

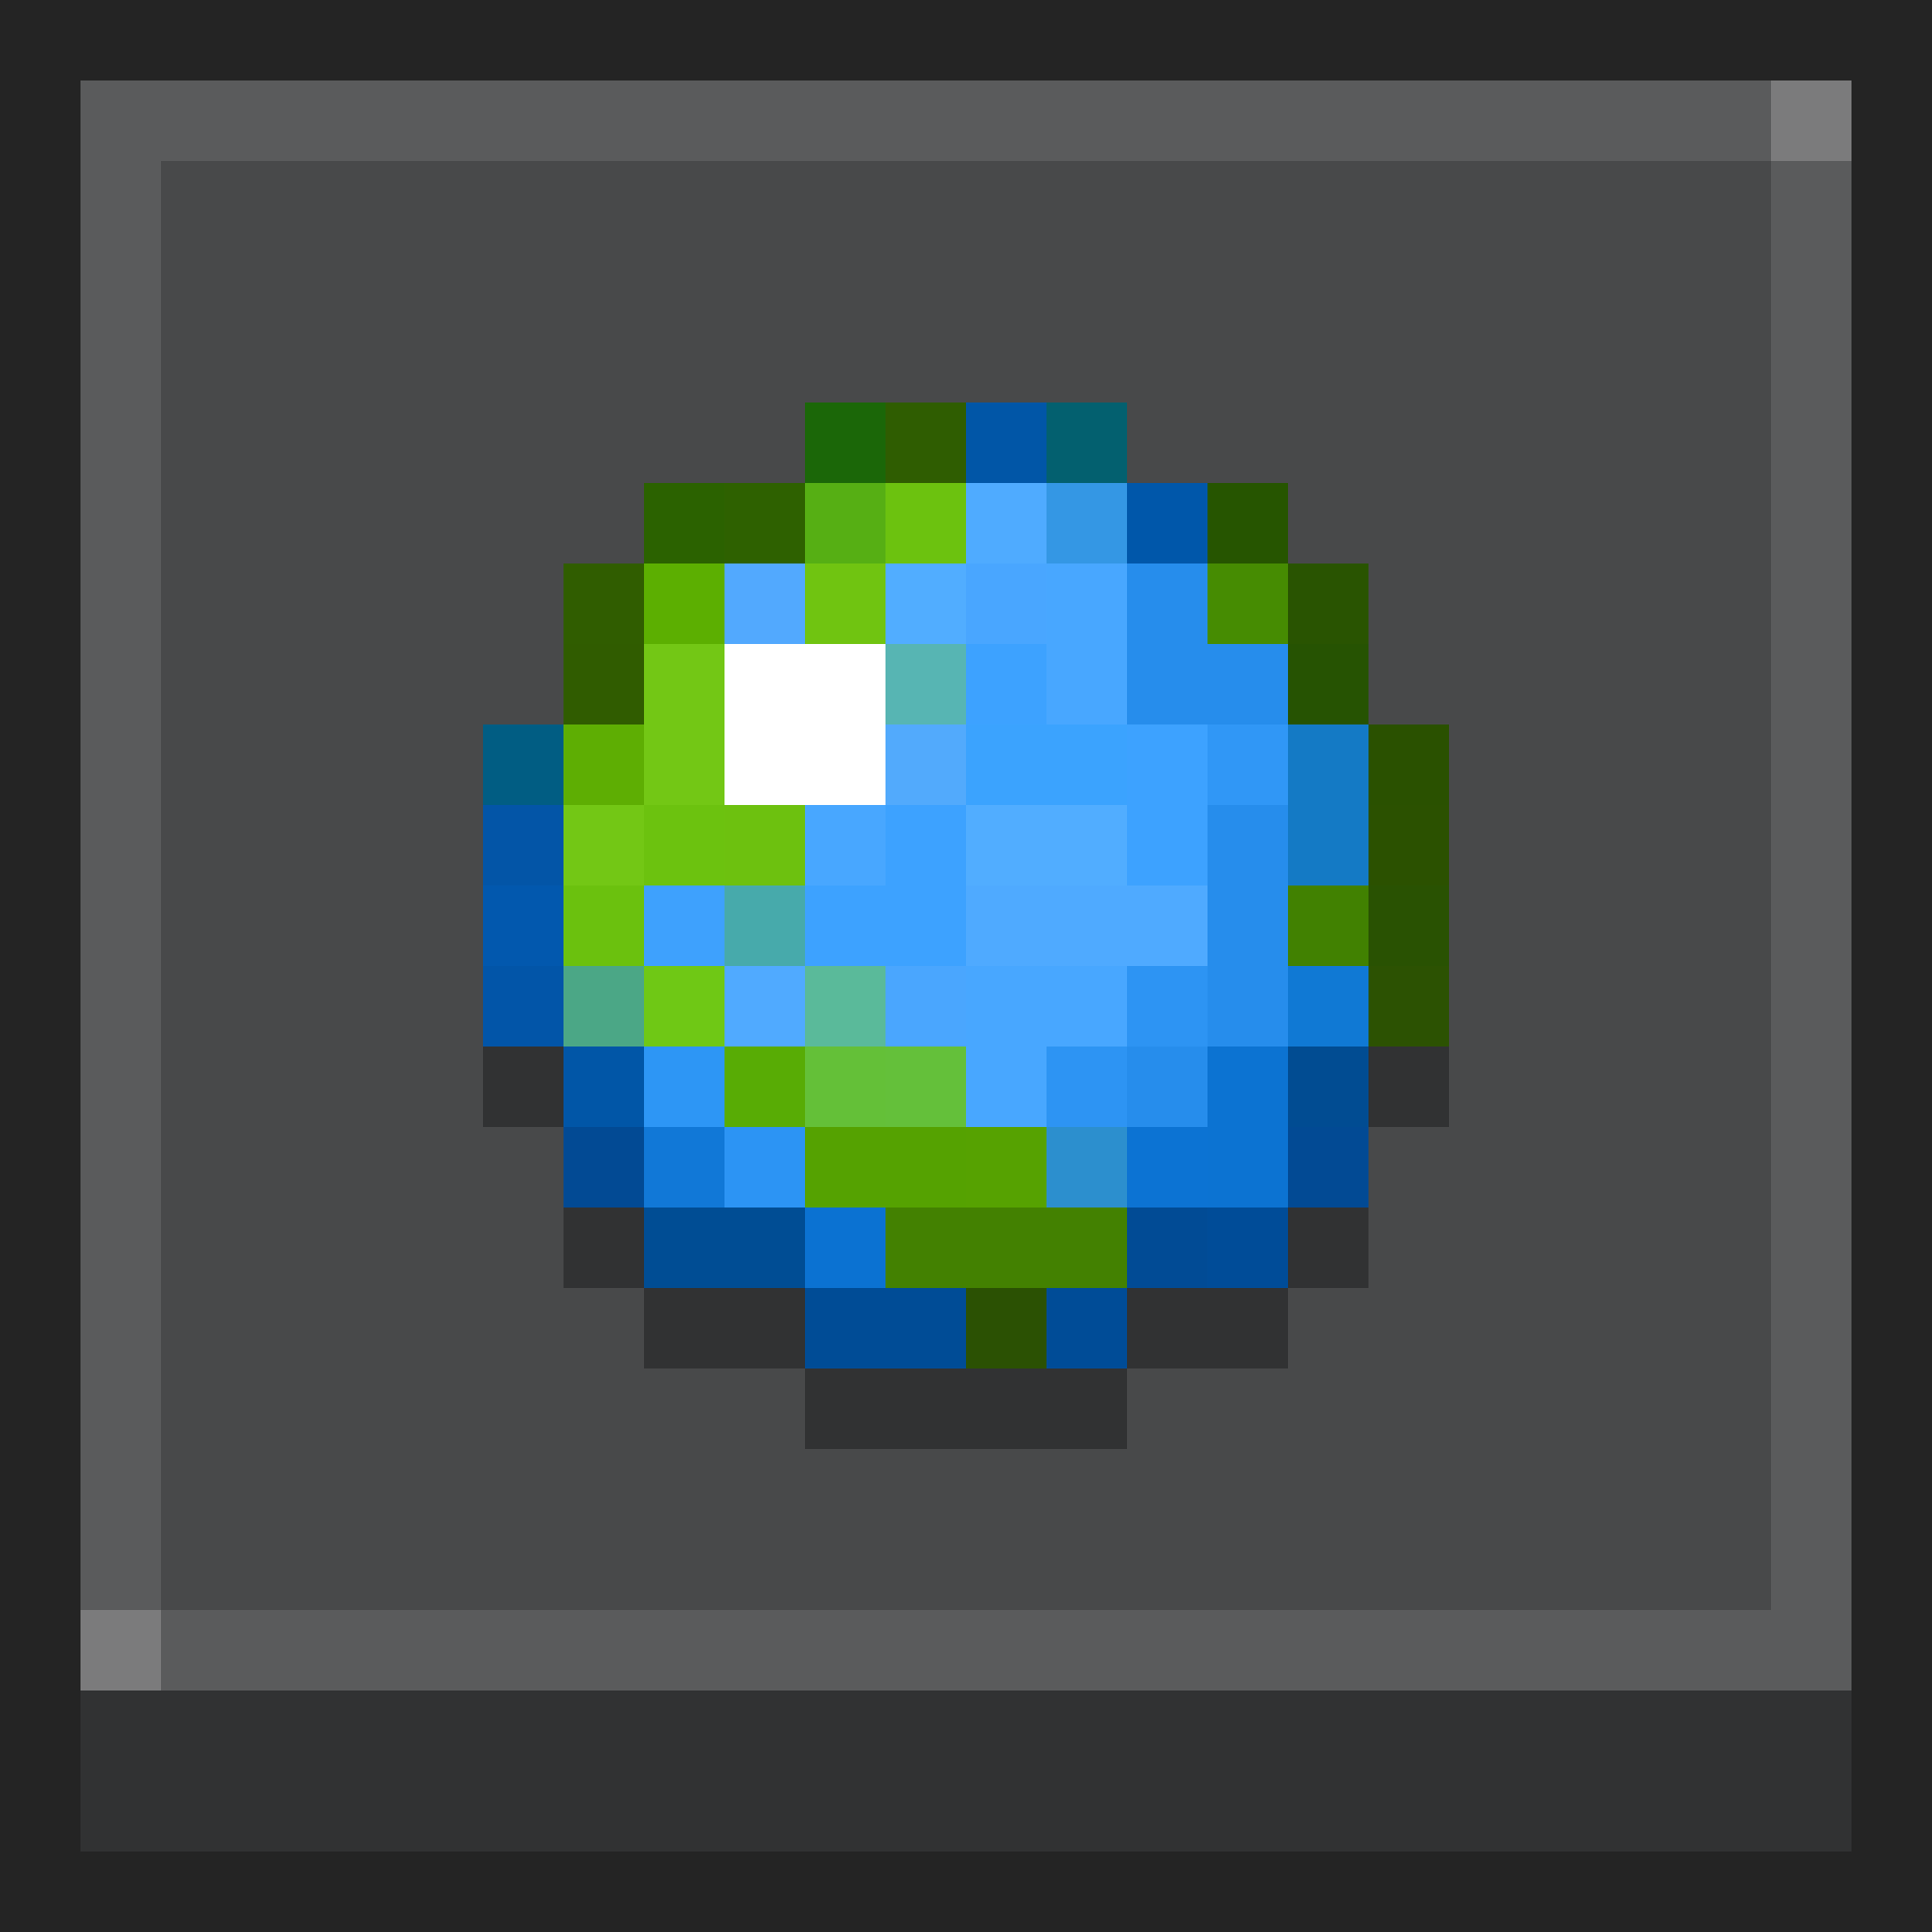
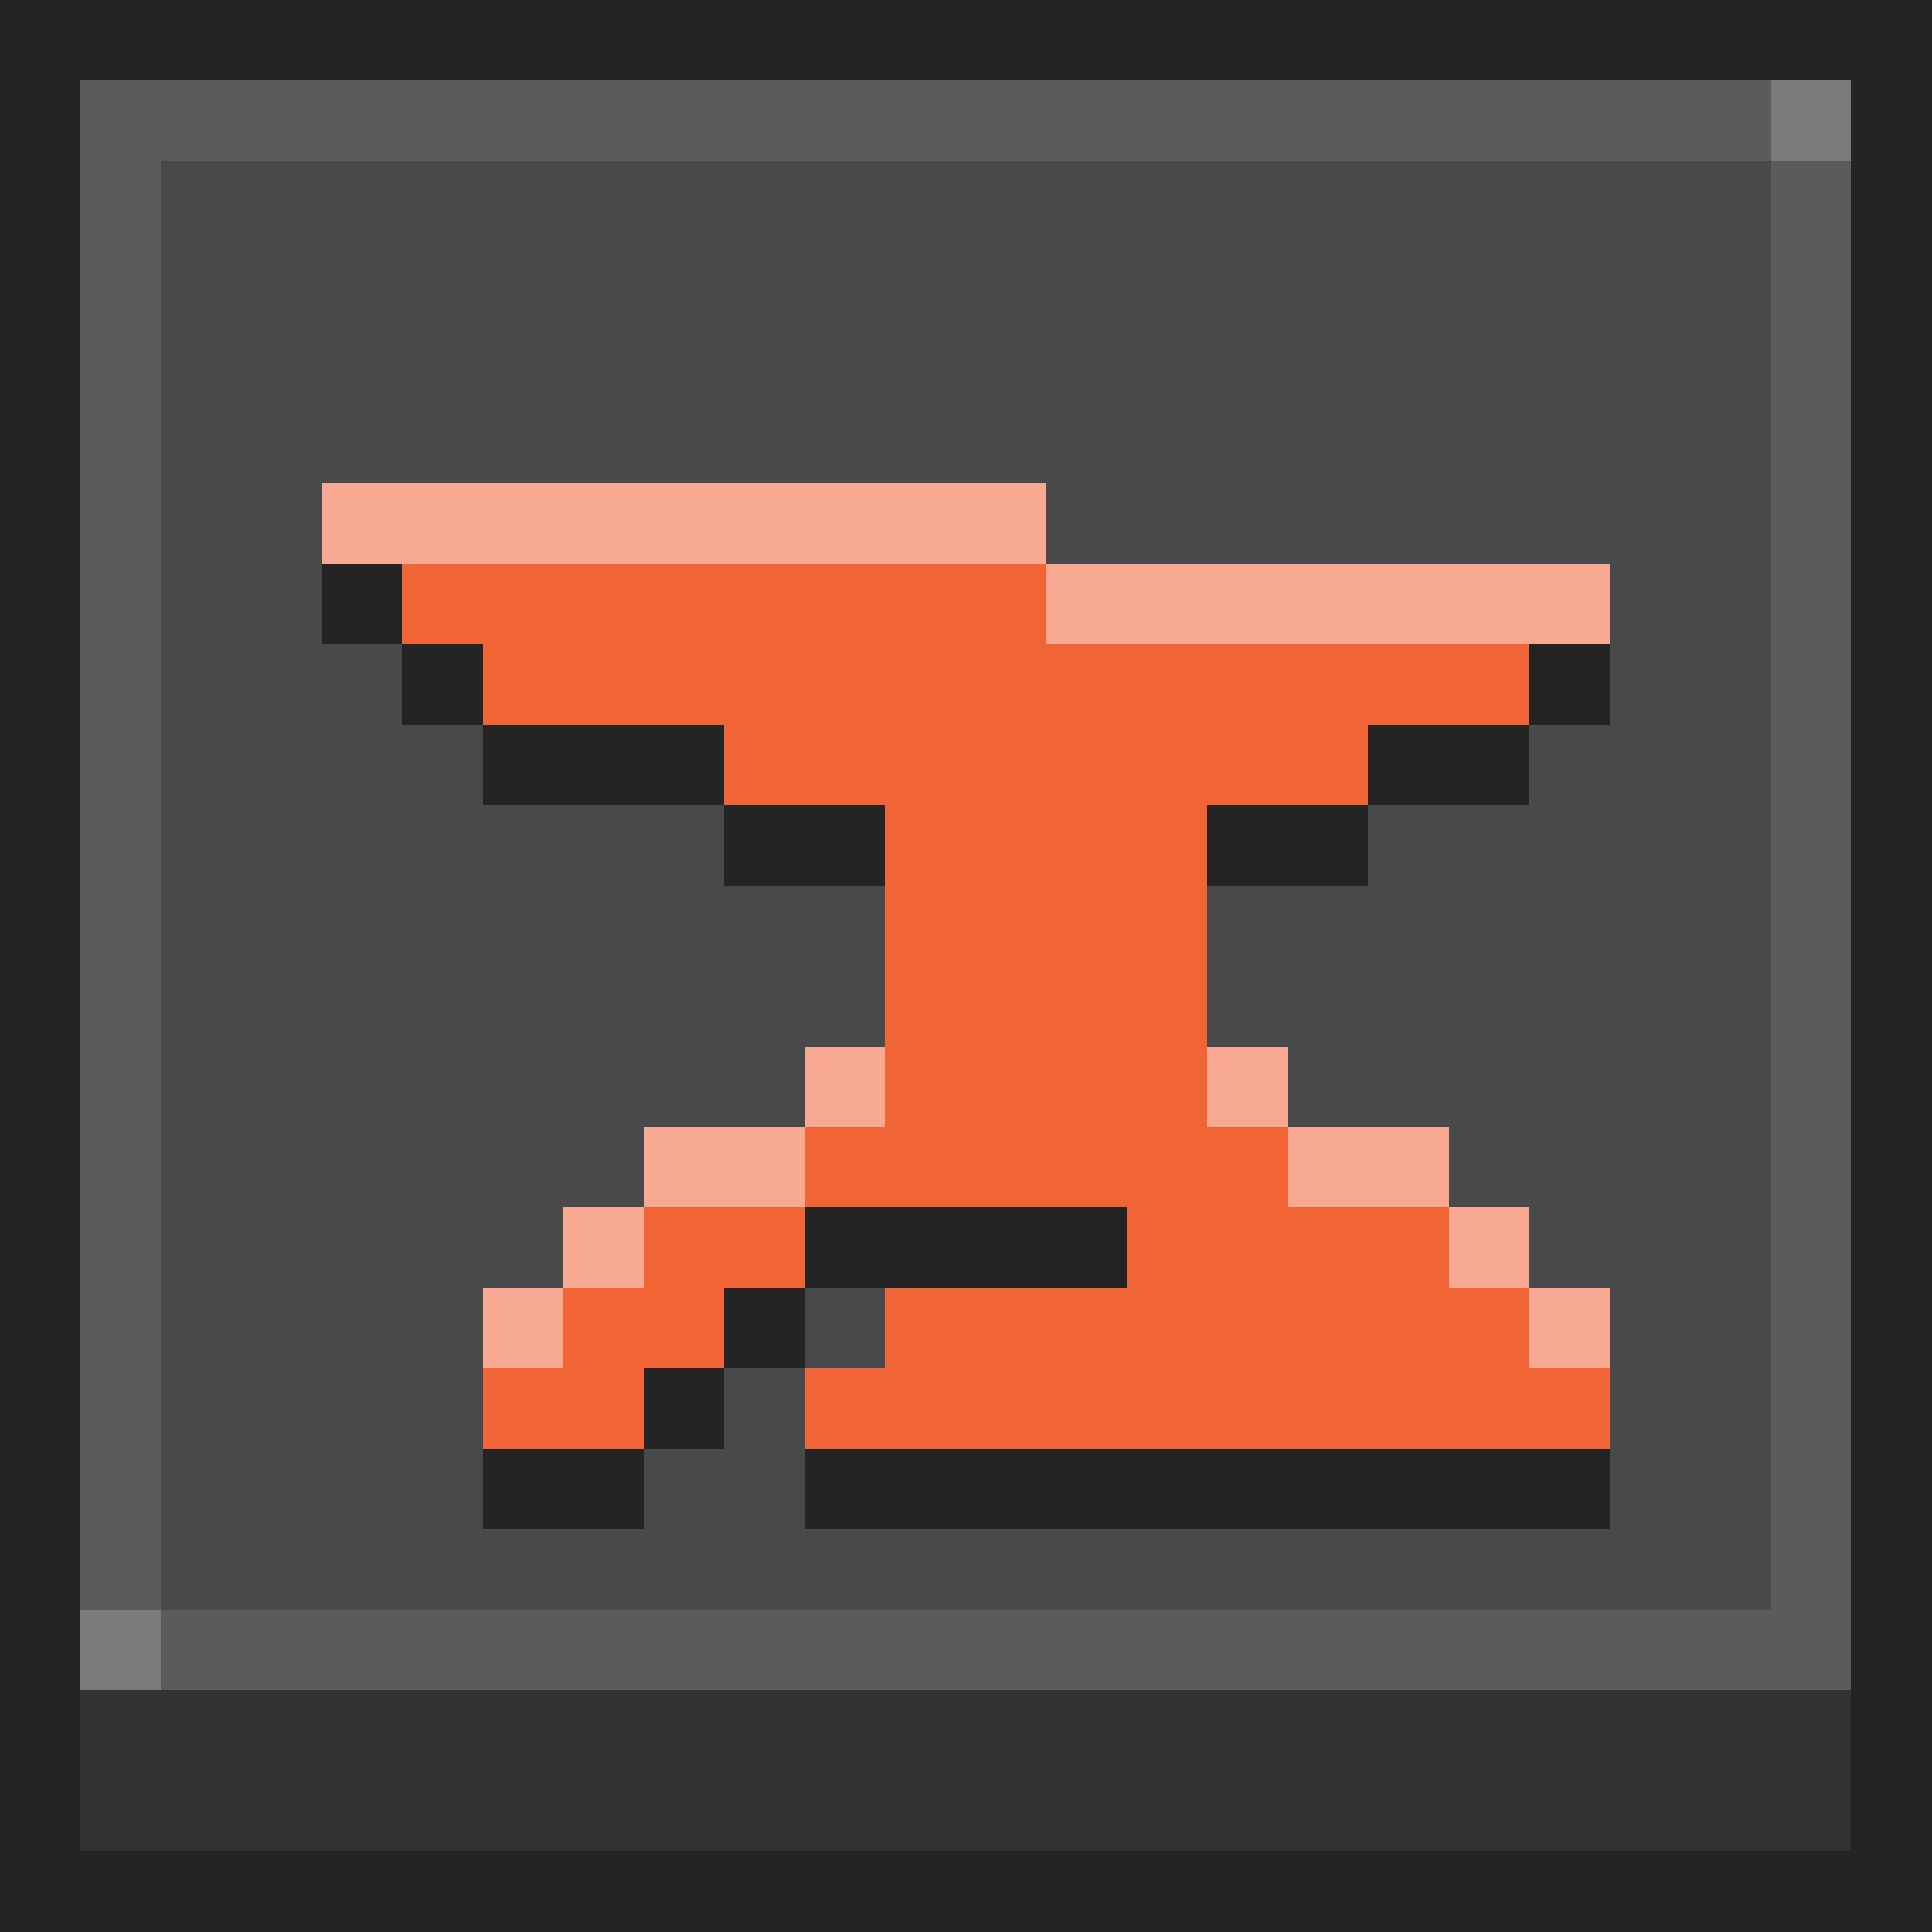

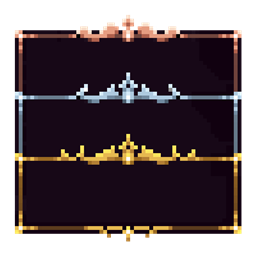
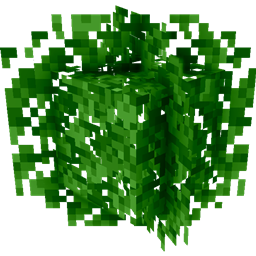
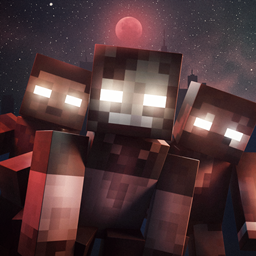
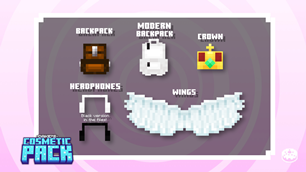
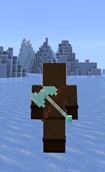
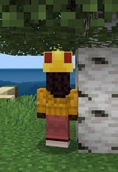
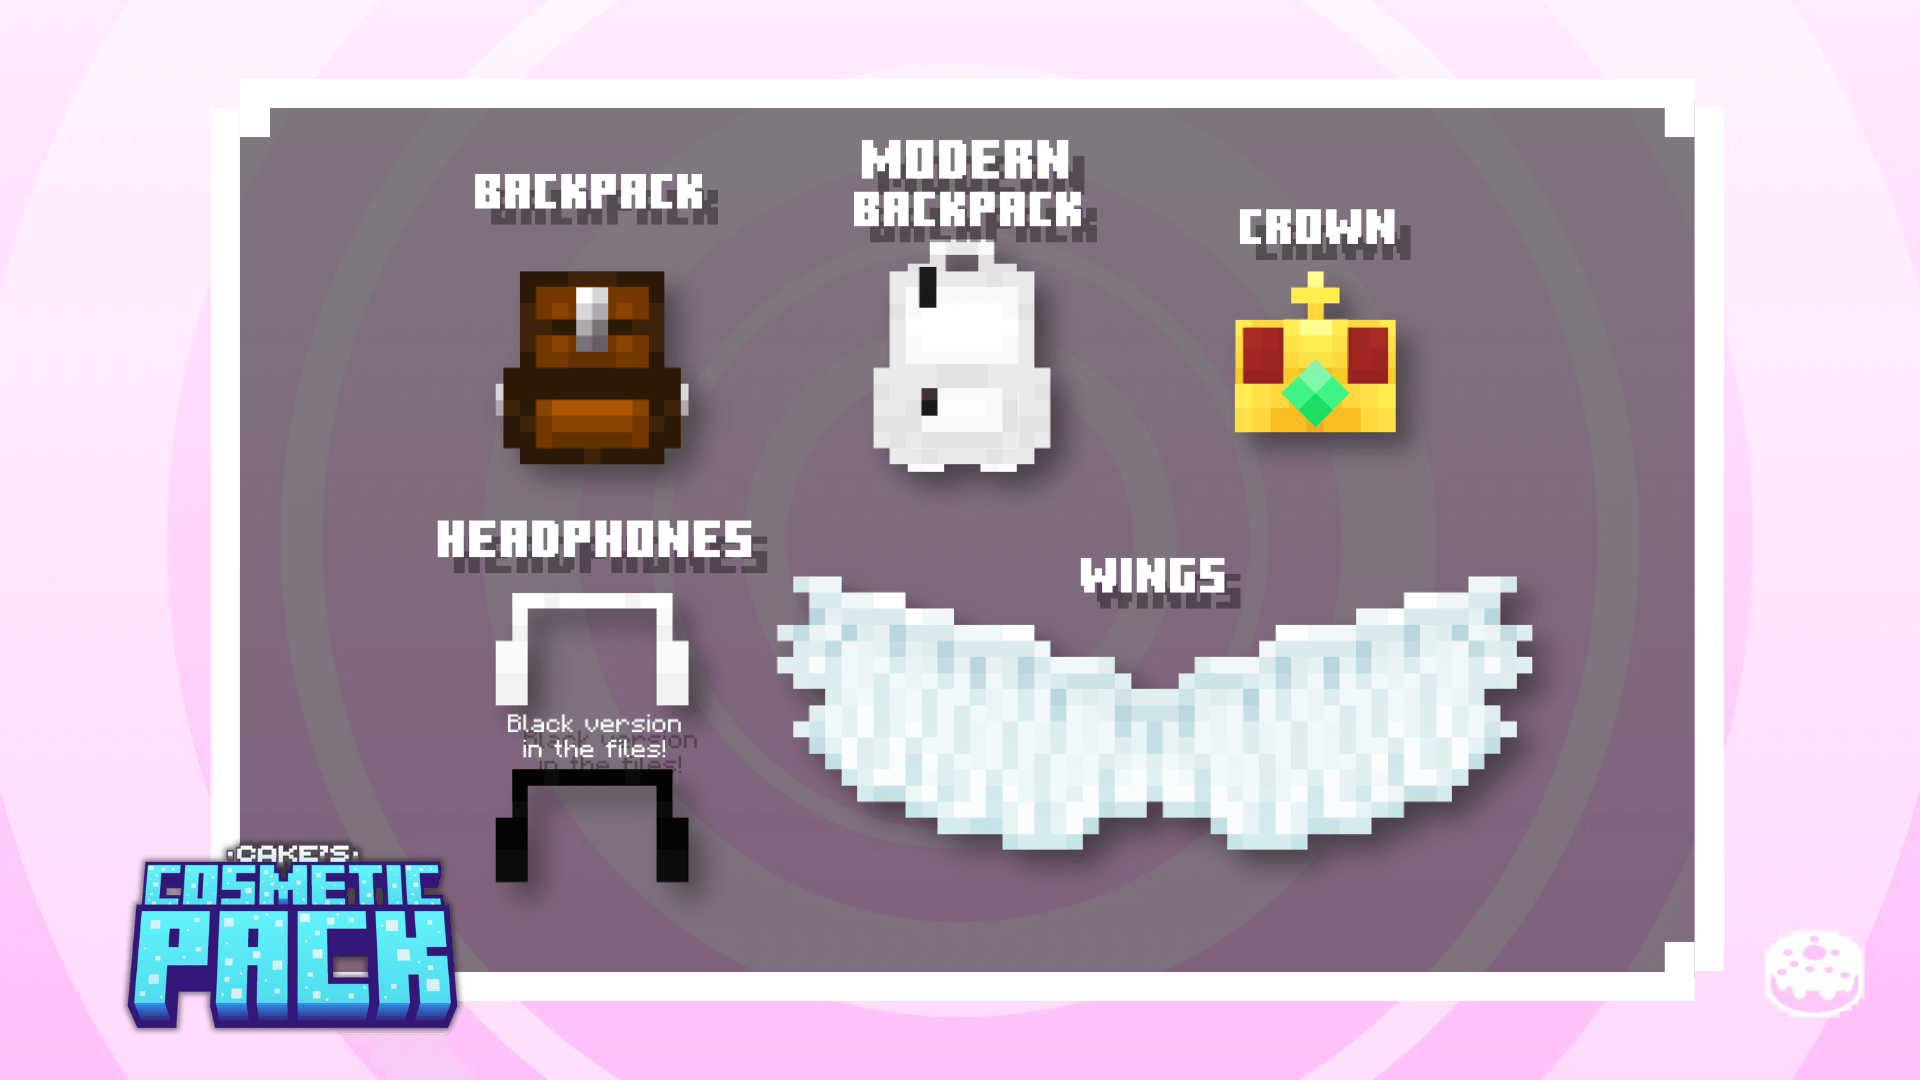
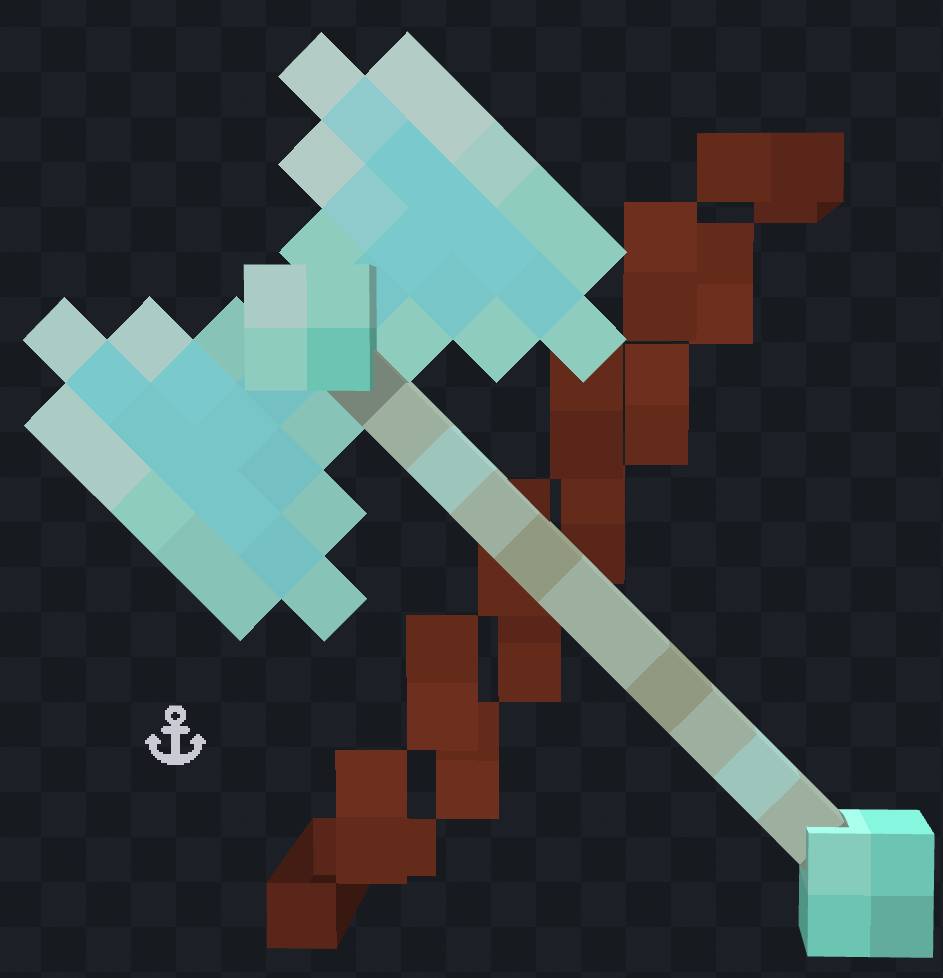
Cake’s Cosmetic Pack is a one of a kind pack that adds 5 new cosmetics along with support for your own cosmetics. There are 5 slots included in the main pack as well.
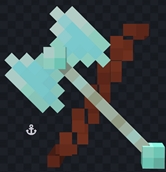
Here is a preview of the available cosmetics.
How does this work?
This pack changes the cape’s model to the desired cosmetic. It also heavely uses the render controller for certain cosmetics. Not only that, the pack is made with compatibility in mind, allowing many packs to work natively with little to now issues whatsoever. Examples include animation packs and other packs that depend on the player's entity file.
The pack also fixes the noticeable problems of MCPE-126660, a bug affecting data-driven items on certain devices.
You can also have cosmetics from other packs dependent on the base pack with full compatibility, so long as you make sure to have the bare minimum.
Changing cosmetics
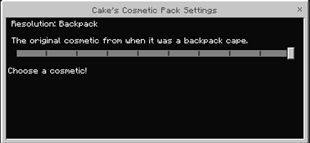
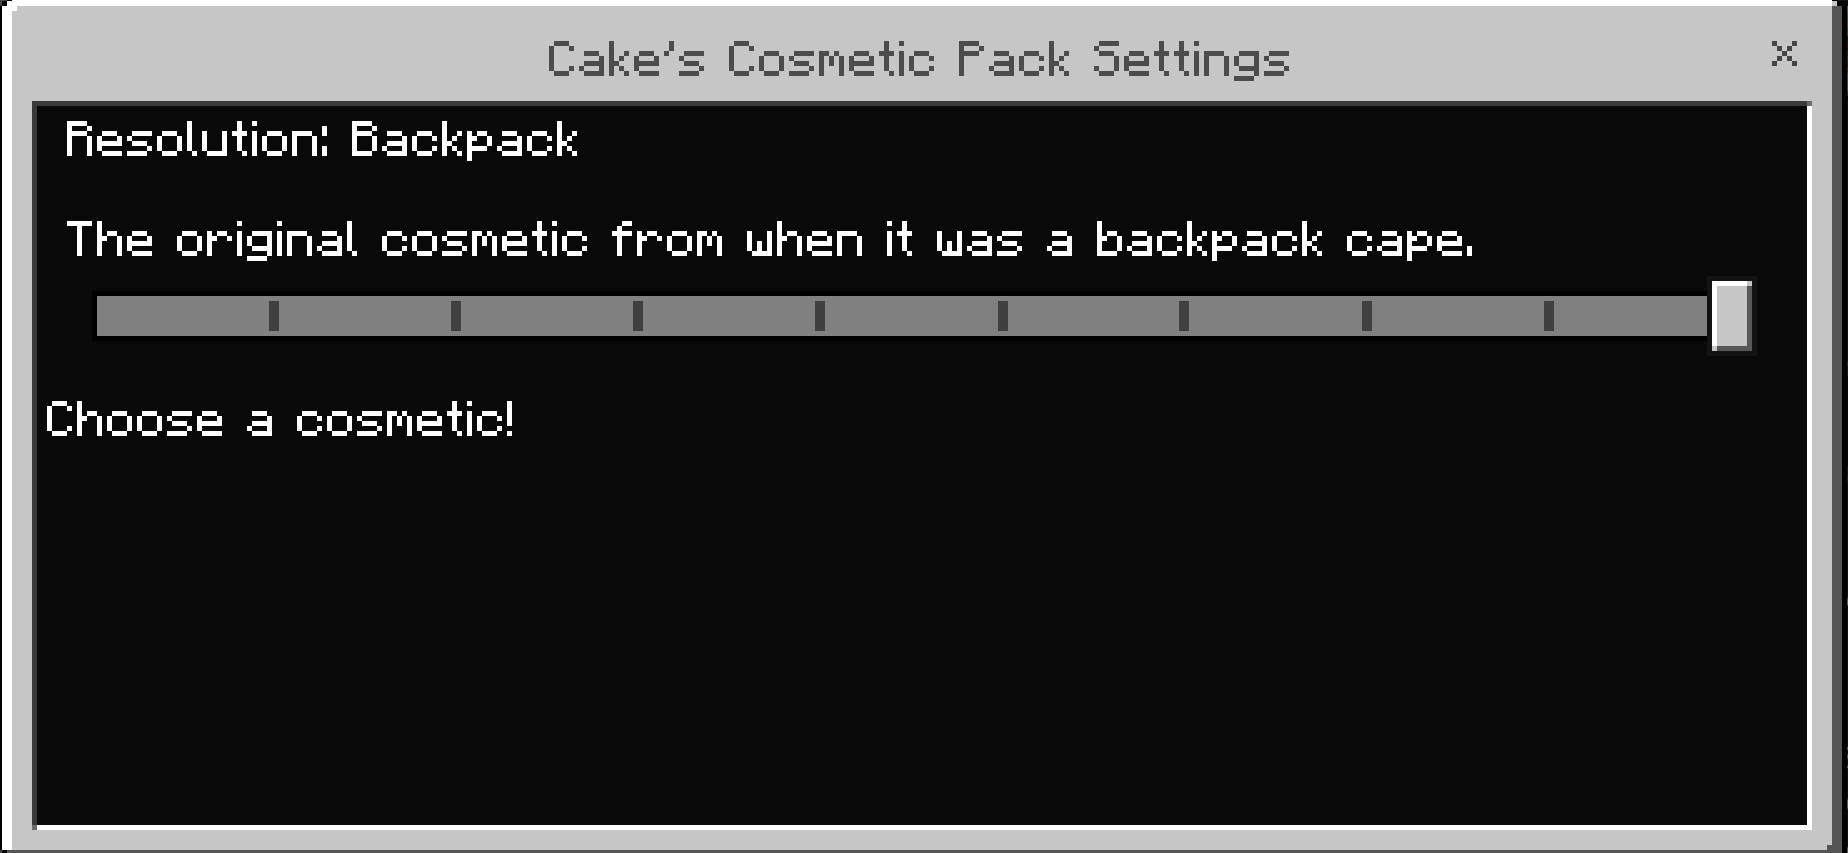
To change cosmetics, press the subpack button (gears icon) after selecting the pack to choose a cosmetic. Choosing is as simple as moving the slider. On the base pack, 5 slots are dedicated to custom cosmetics and aren't intended for regular gameplay if there is no new cosmetics.
Companion packs
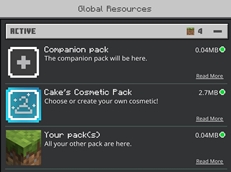
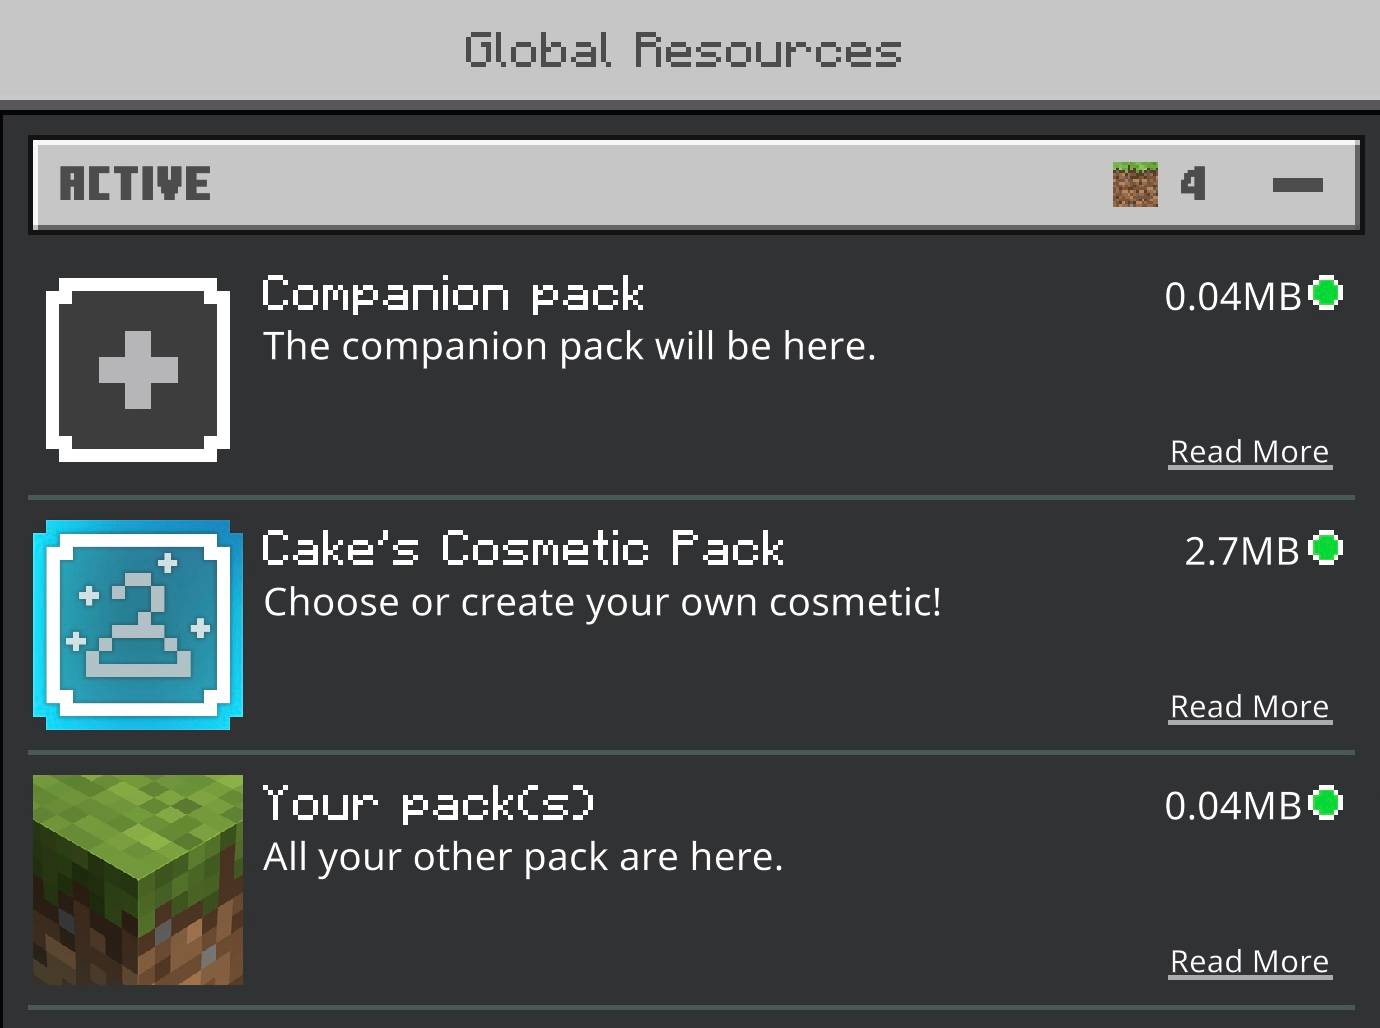
Companion packs are a way to support updates to the pack without updating the main pack. To use one, activate the pack above the main pack for the cosmetic to properly appear in-game. All other packs should be below other packs. Here is an example as to how to order the packs.
Live Download Count

Tutorials
Below is a list of all Tutorials provided in the pack. These can also be found at Tutorials.txt inside of the pack’s documents.
1st Tutorial: Creating Custom Cosmetics
• Creating a custom model may seem daunting, but it isn’t so bad once you figure it out. For this tutorial, I will be using Blockbench to create the model on iOS, which means that im on mobile. If your curious, the whole pack is made on mobile. Impressive, i know.
• What you'll need:
-- Blockbench (recommended)
-- A file manager (defaults are recommended)
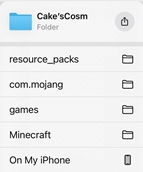
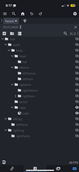
1. Locate the “Cake’Cosm” folder in the “resource_packs” directory. Use the following file path to find it with a file editor: (screenshot only shows iOS filepath)
-- iOS: On My iDevice/Minecraft/games/com.mojang/resource_packs/Cake'sCosm
-- Android: Android/com.mojang.minecraftpe/files/games/com.mojang/resource_packs/Cake’Cosm
-- Windows: C:/Users/(your pc username)/AppData/Local/Packages/Microsoft.MinecraftUWP_8wekyb3d8bbwe/LocalState/games/com.mojang/resource_packs/Cake’sCosm
-- Console: Good luck
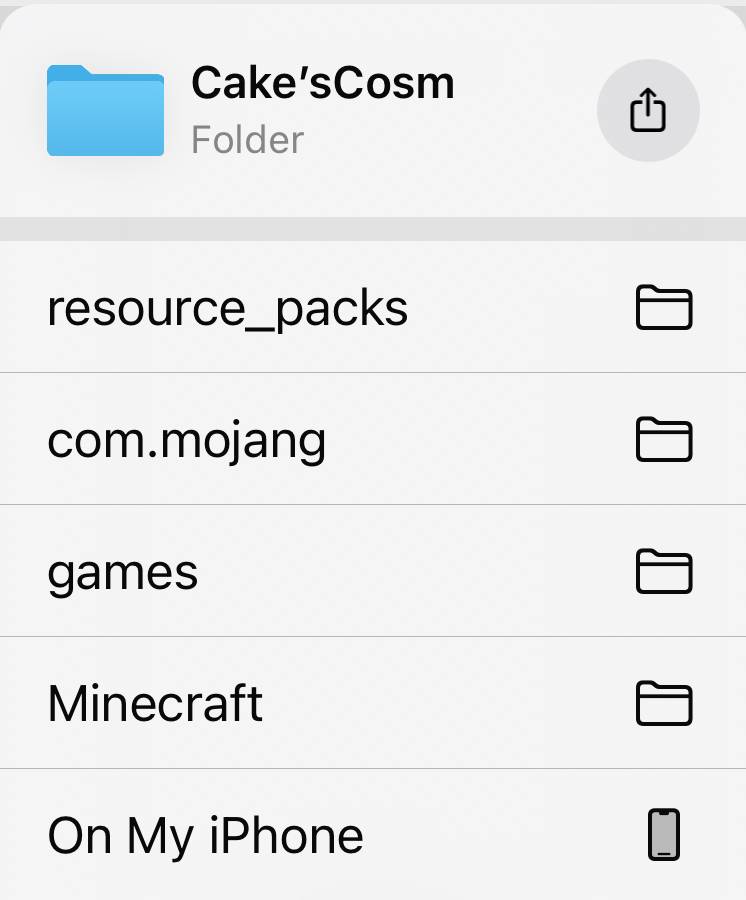
-- No coding experience is needed for this tutorial. Use a text editor or a trustworthy alternative file manager if necessary.
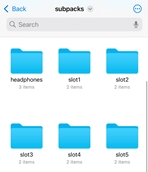
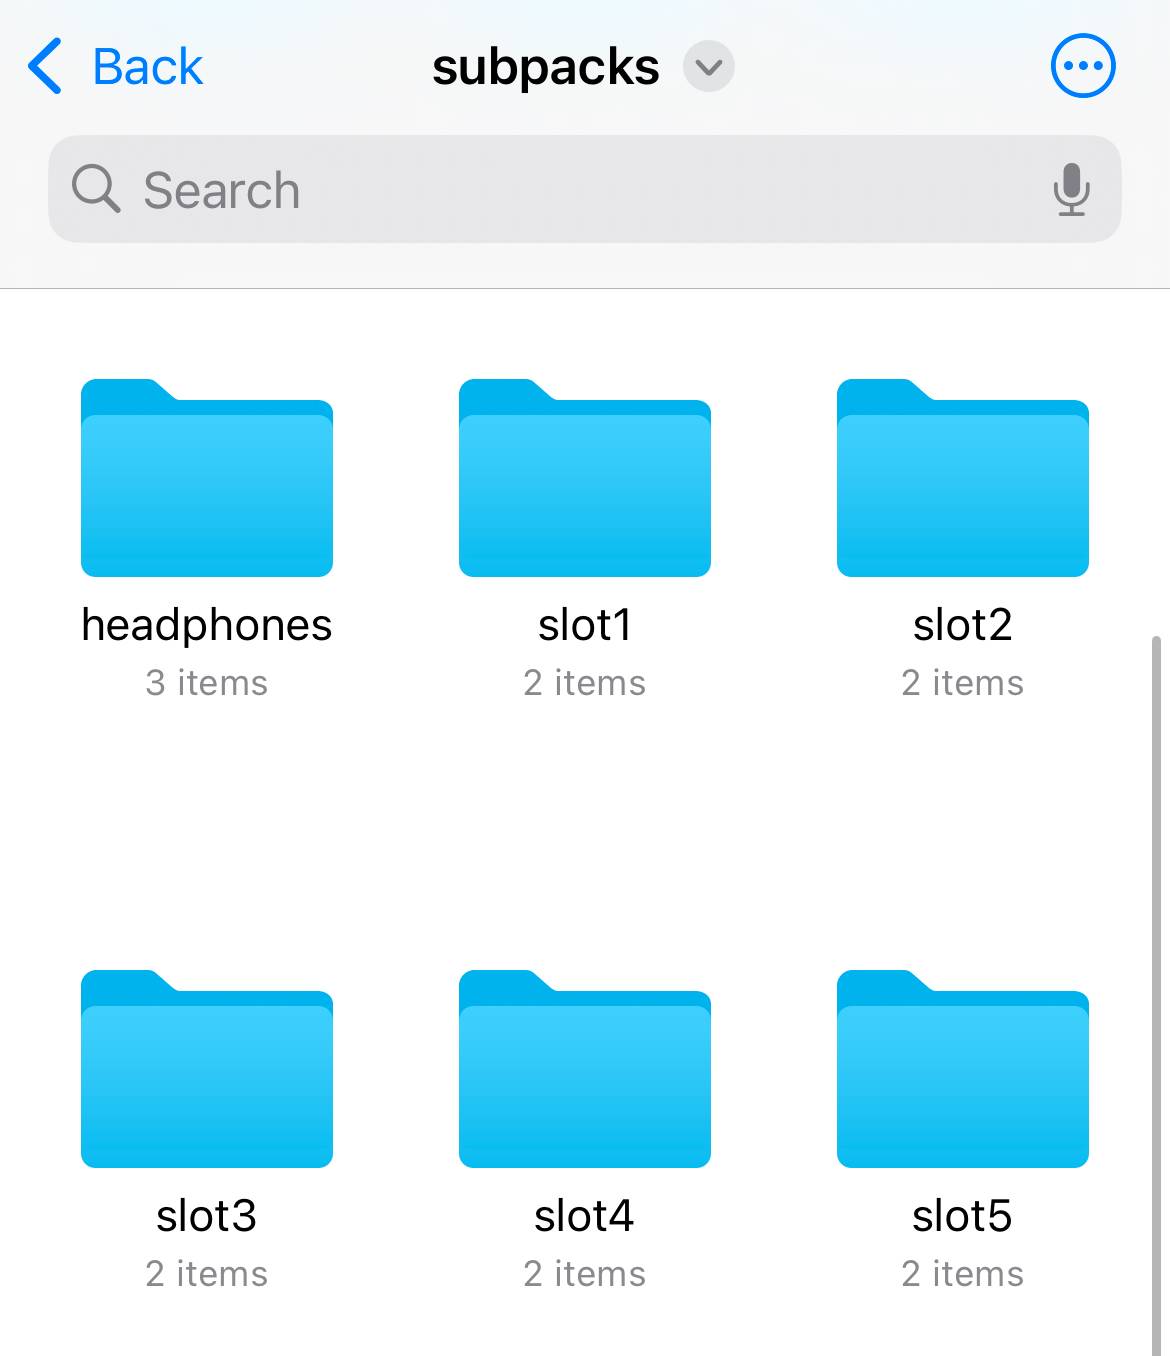
2. Inside the pack’s contents, select a custom slot inside the “subpack” folder. These slots are numbered from 1 to 6. For this tutorial, I will use slot 1.
-- If you want to, you can create a pack to have your custom cosmetic on. Just make sure that you have the minimum for a pack.
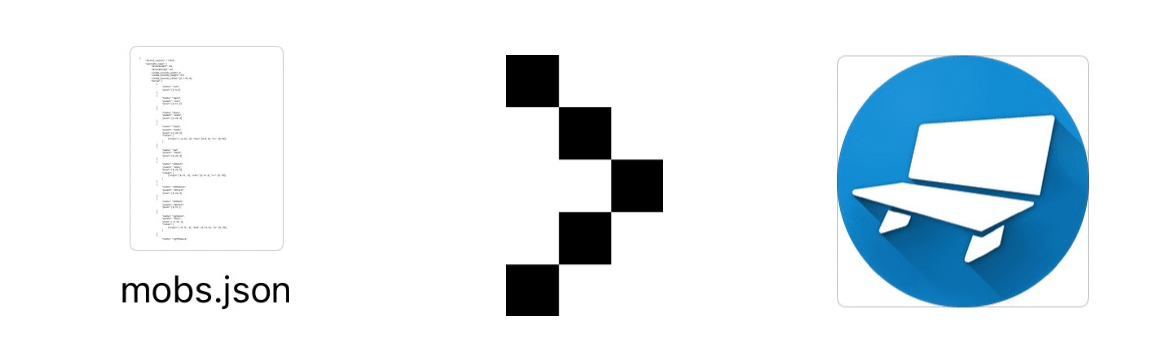
3. Import the model to Blockbench. On all platforms, you can drag and drop the "mobs.json" file. It is contained inside the “models” folder and has the placeholder model.
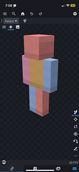
4. View the model. The first thing you’ll notice is that the model resembles the default player model. This is just a placeholder for creators.
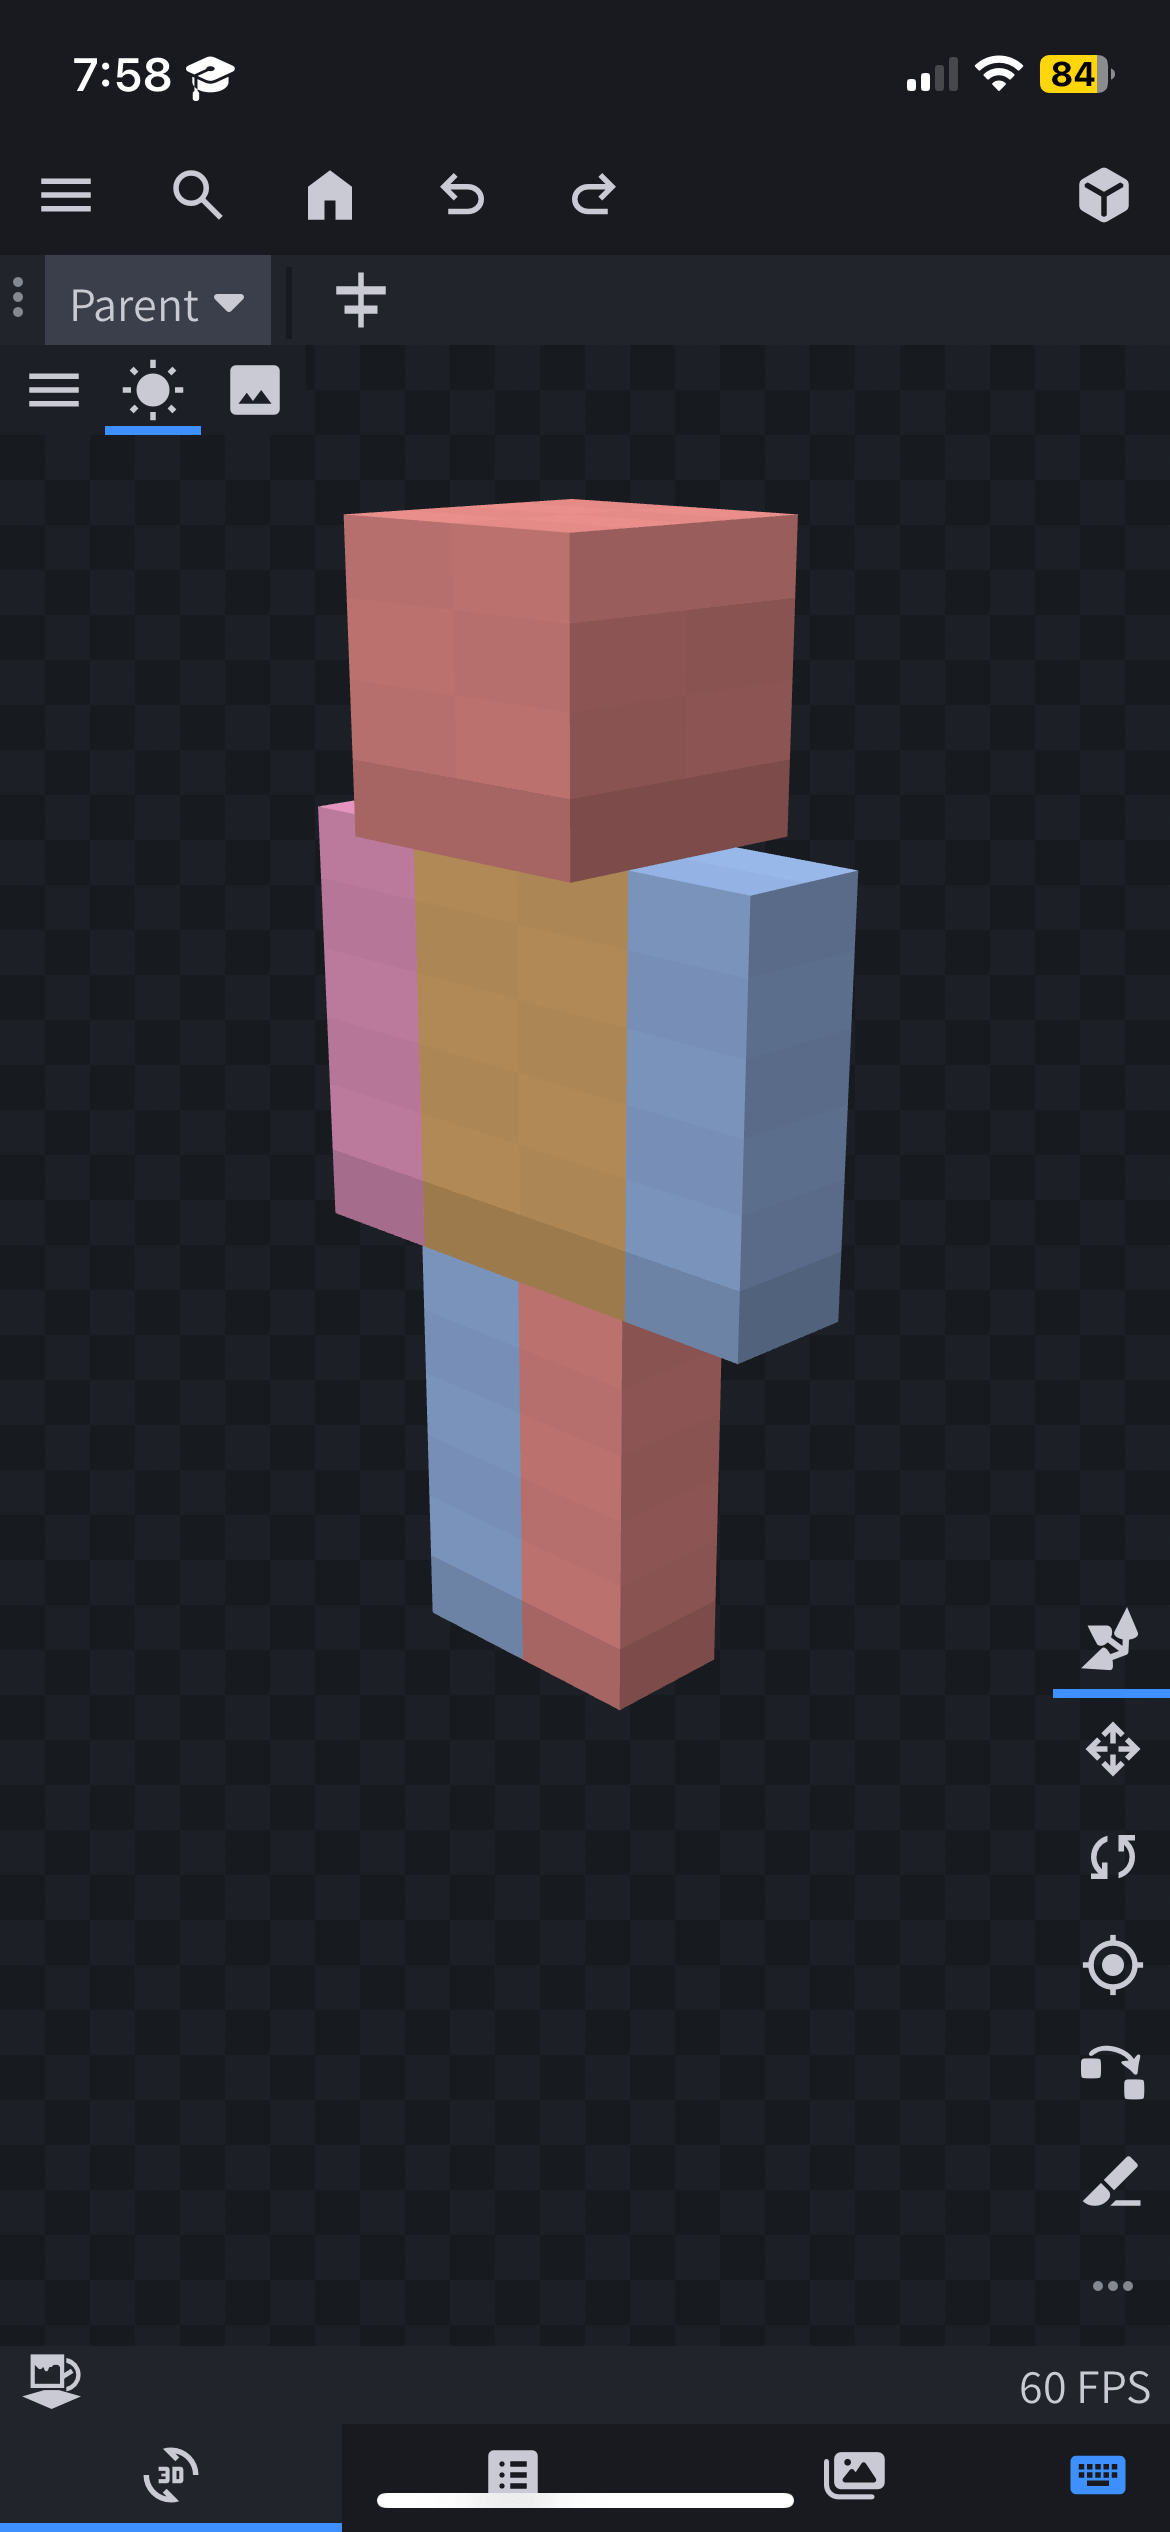
Important Notes:
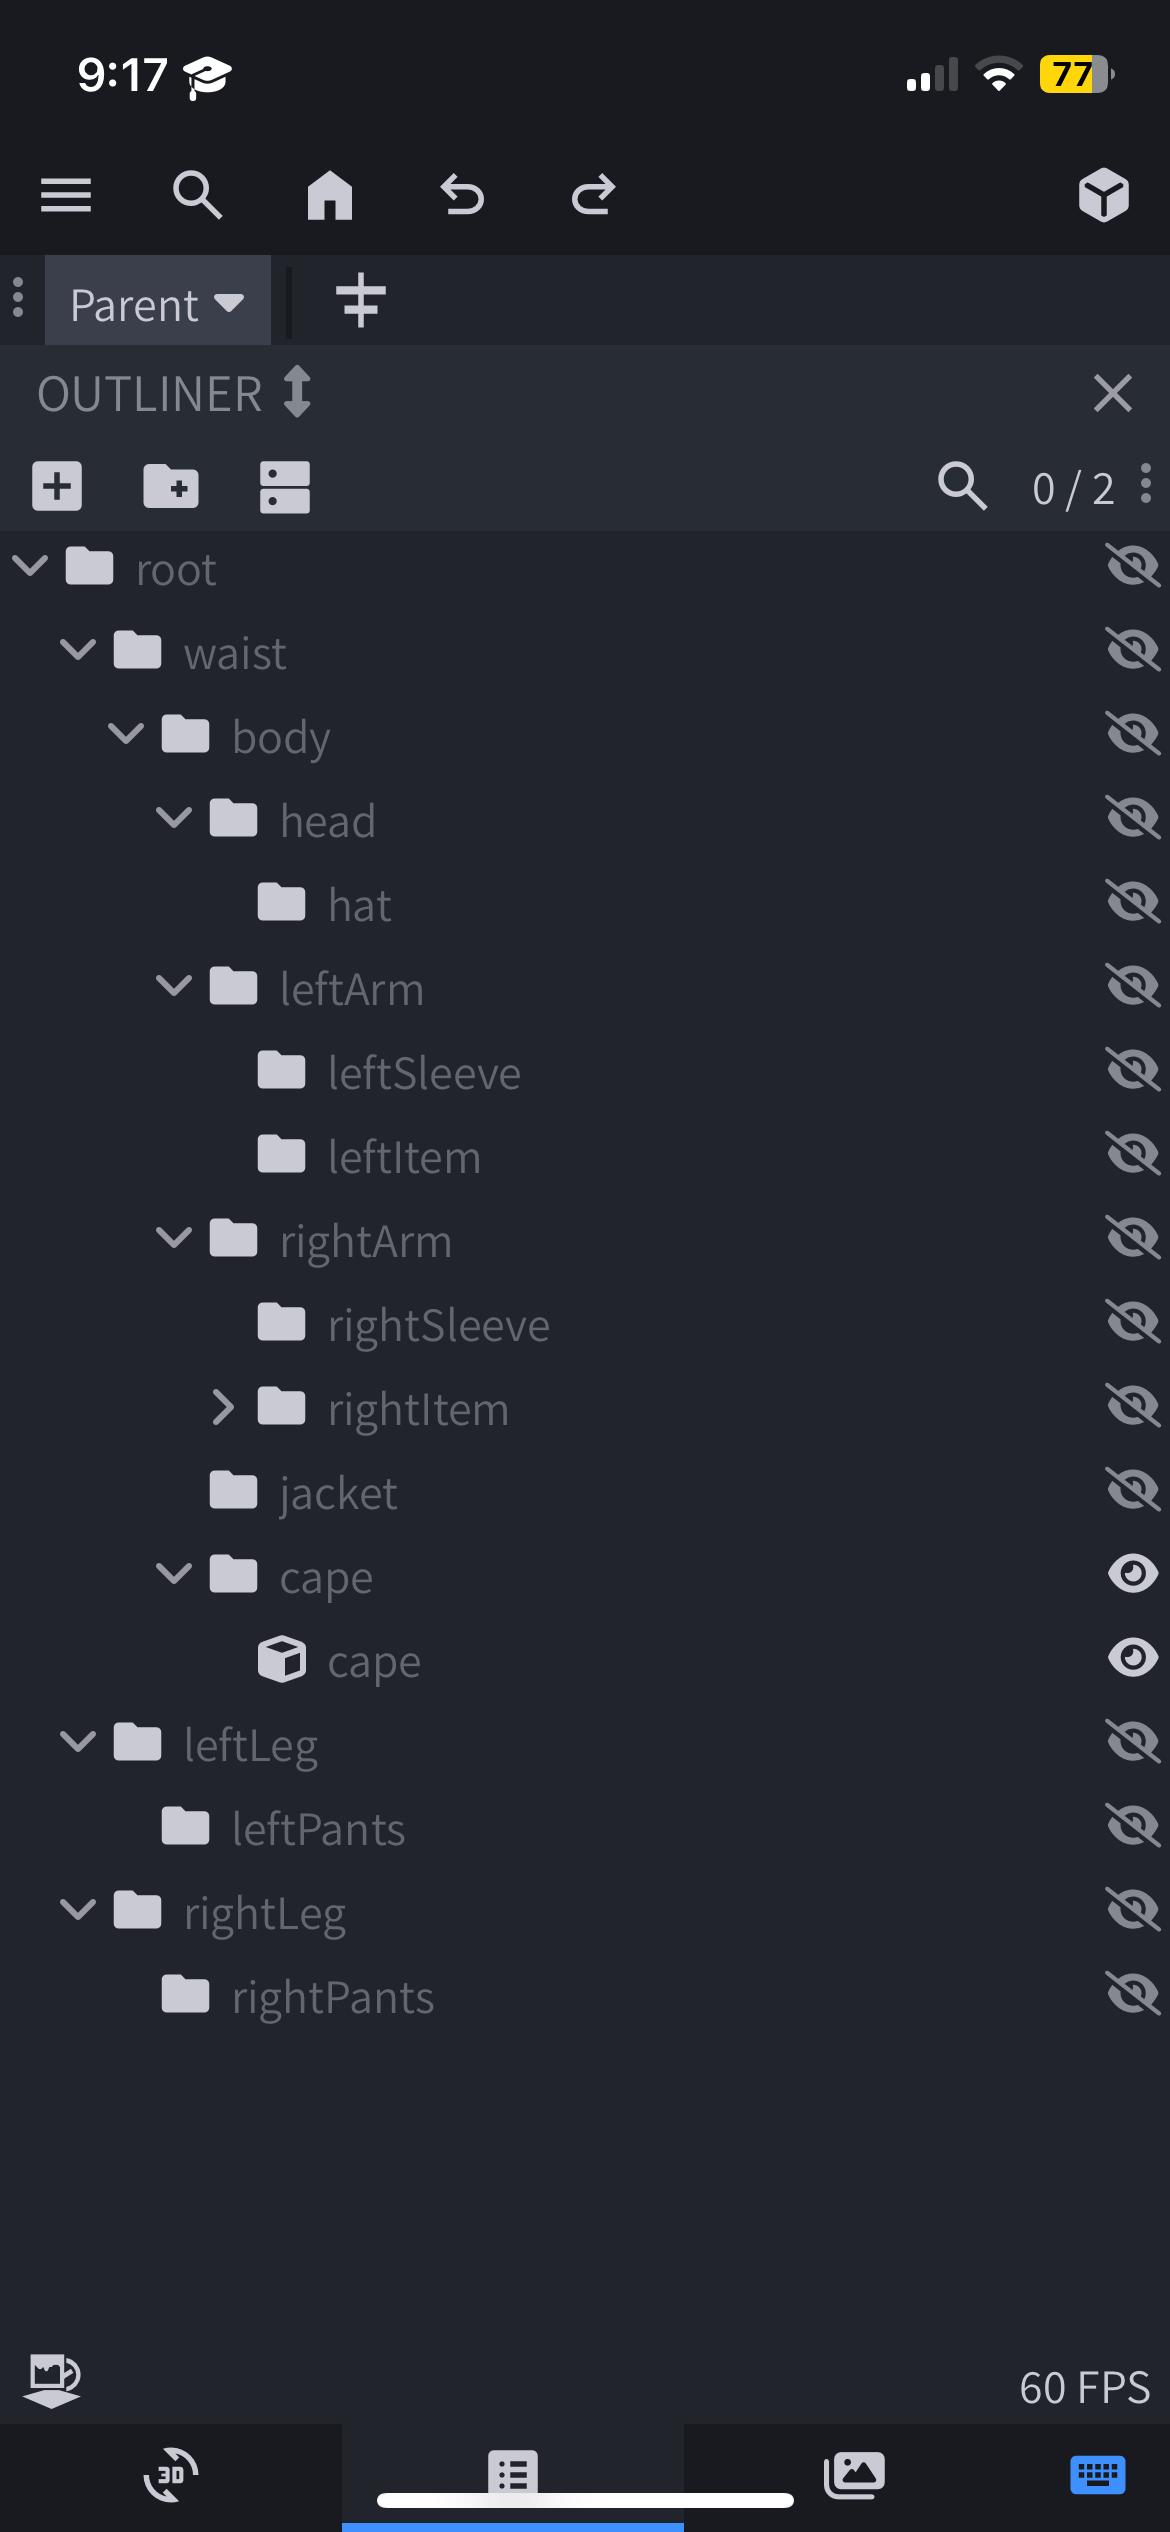
-- Do not remove any of the bones as this can cause issues. Bones are marked as folders inside Blockbench.
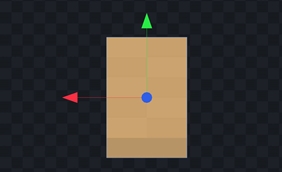
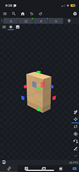
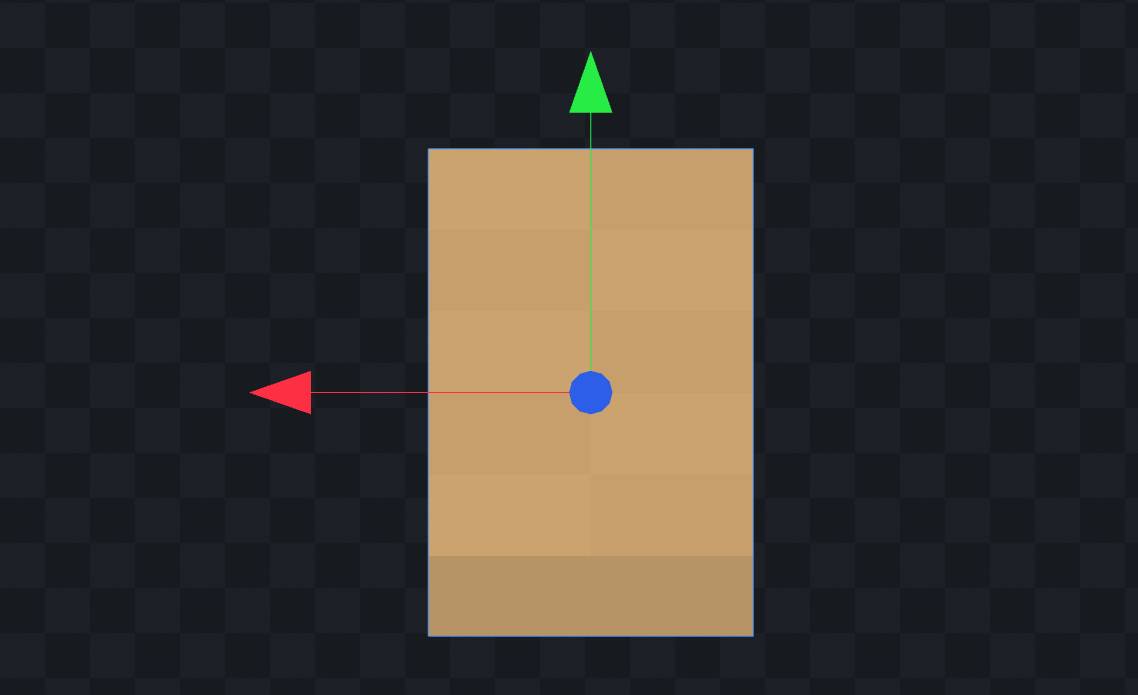
-- When making anything for the chest, ensure it is inside the “cape” bone and positioned in front. This is because the model cant be rotated 180°. Instead, a animation will handle the rotation. You can verify the orientation by checking the XYZ arrows, which should appear like this when facing north:
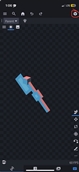
• At any point in the tutorial, you can undo mistakes by pressing this icon:

5. Prepare the model. Remove any unnecessary cubes and make sure to remove them (unless needed) after the model is done if they are being used as a base. For this tutorial, ill keep the chest.
6. Now its time to model it!
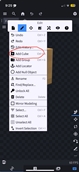
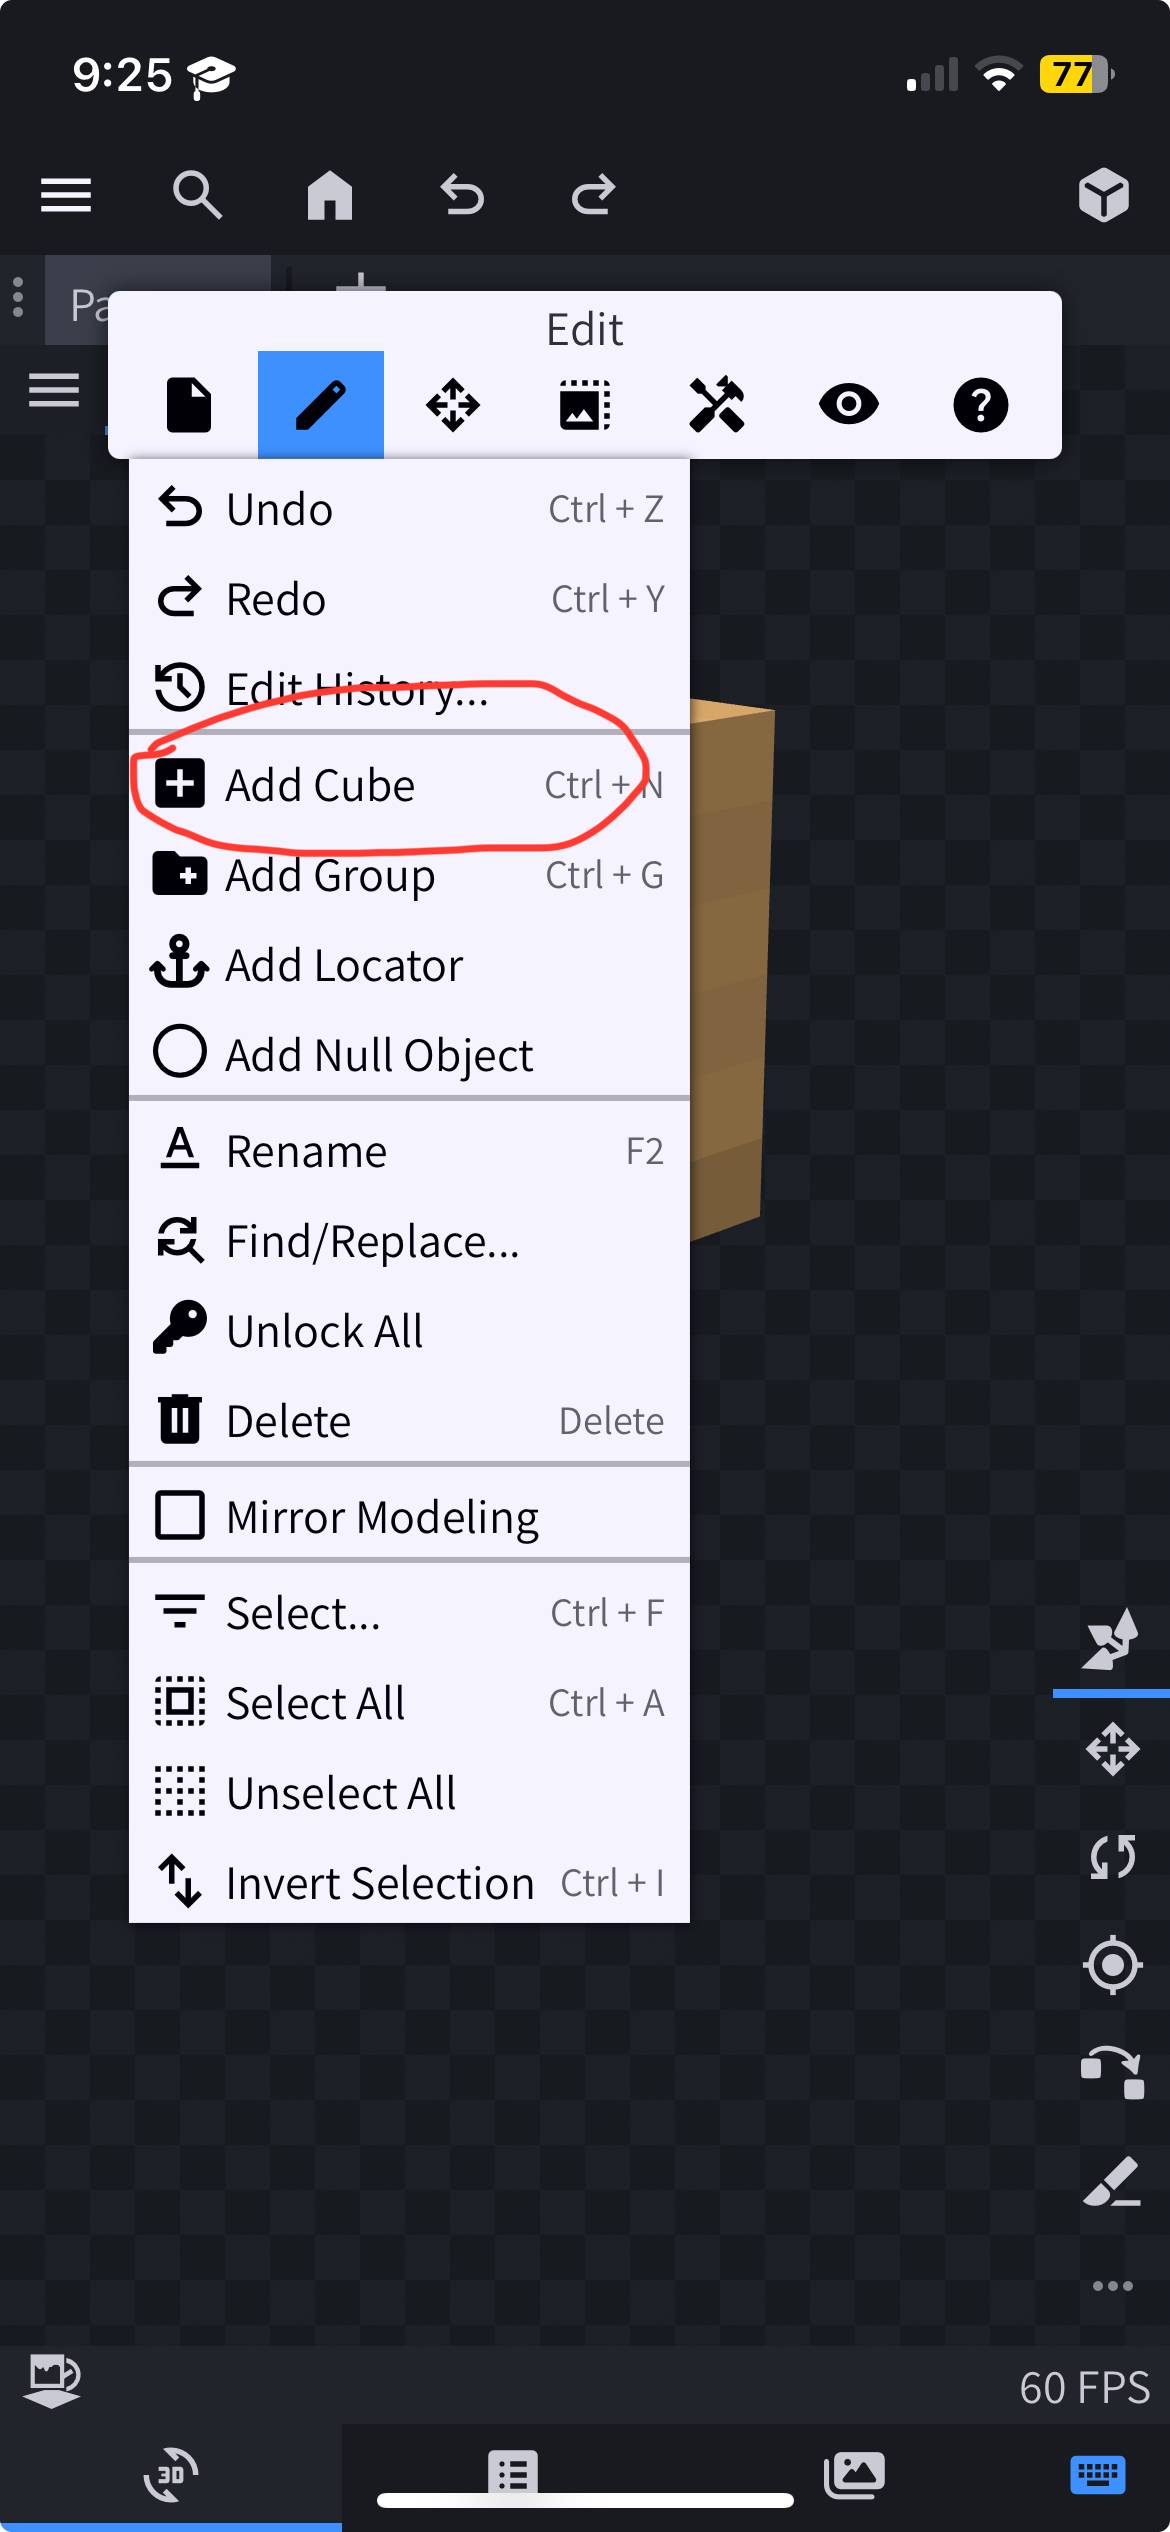
-- To add a cube: Press the three-lines menu > Edit > Add Cube.
-- To move the cube: Drag one of the three arrows to move along the X, Y, or Z axis.
-- To resize: Use the resize tool and drag one of the 6 ends.
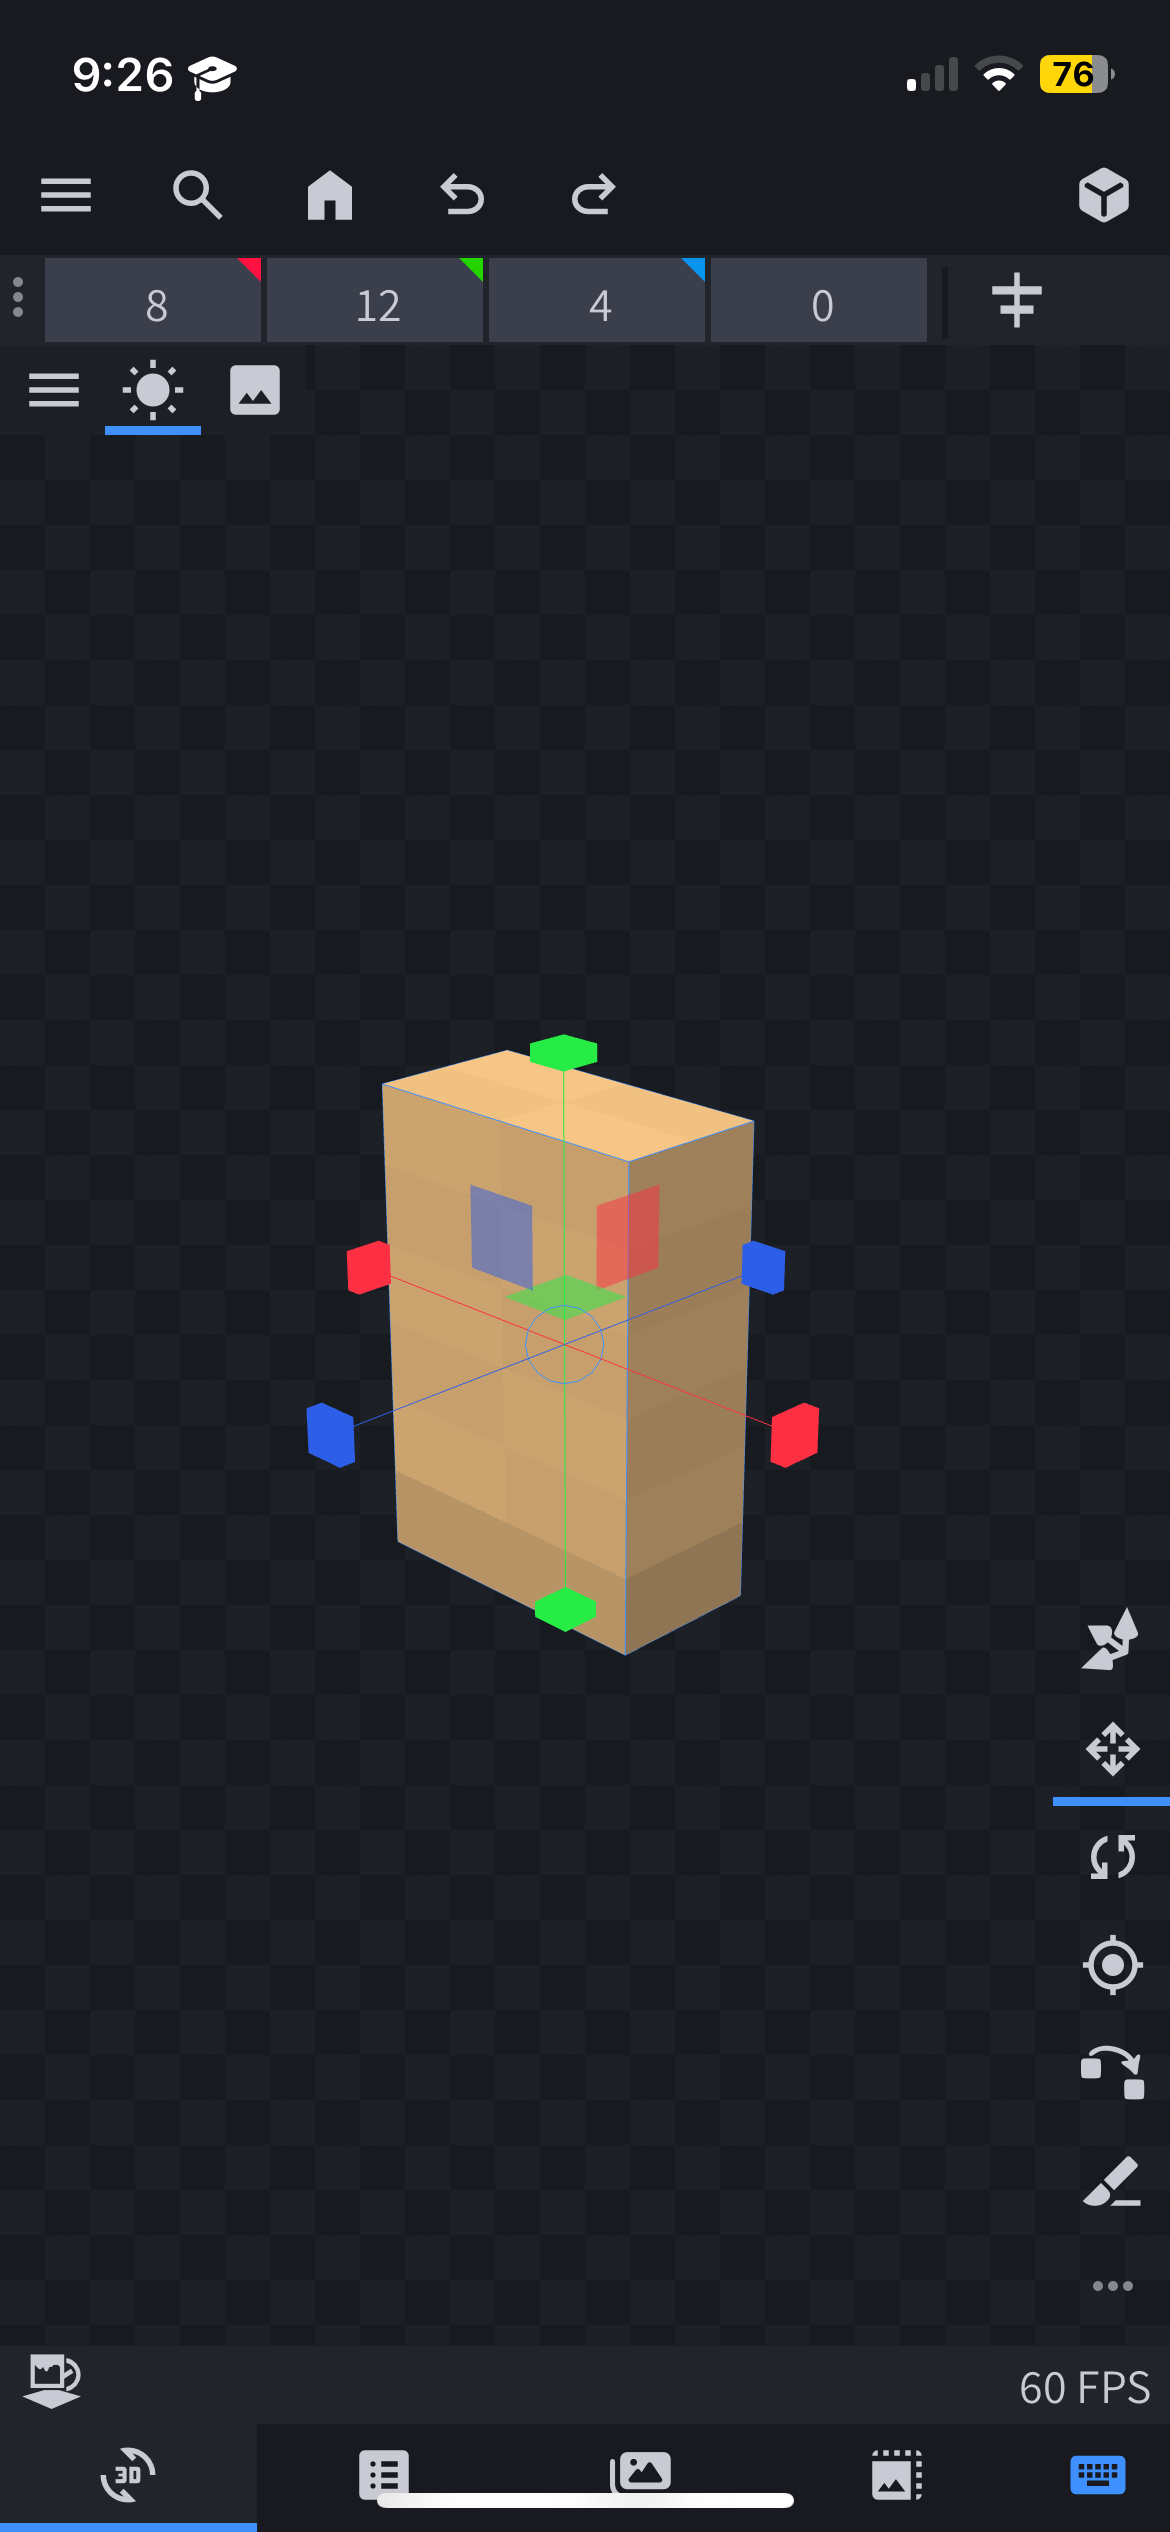
7. Assign cubes to bones. Before painting, ensure the cubes are placed in the appropriate bone for them to animate properly. For example, anything intended for the head must be in the “head” bone so it moves with the head. Otherwise, it will not follow the head.

8. Painting setup.
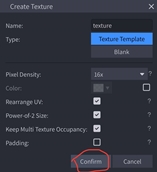
-- Create a texture by pressing this icon:

-- Ignore all other options and simply press “Confirm”.
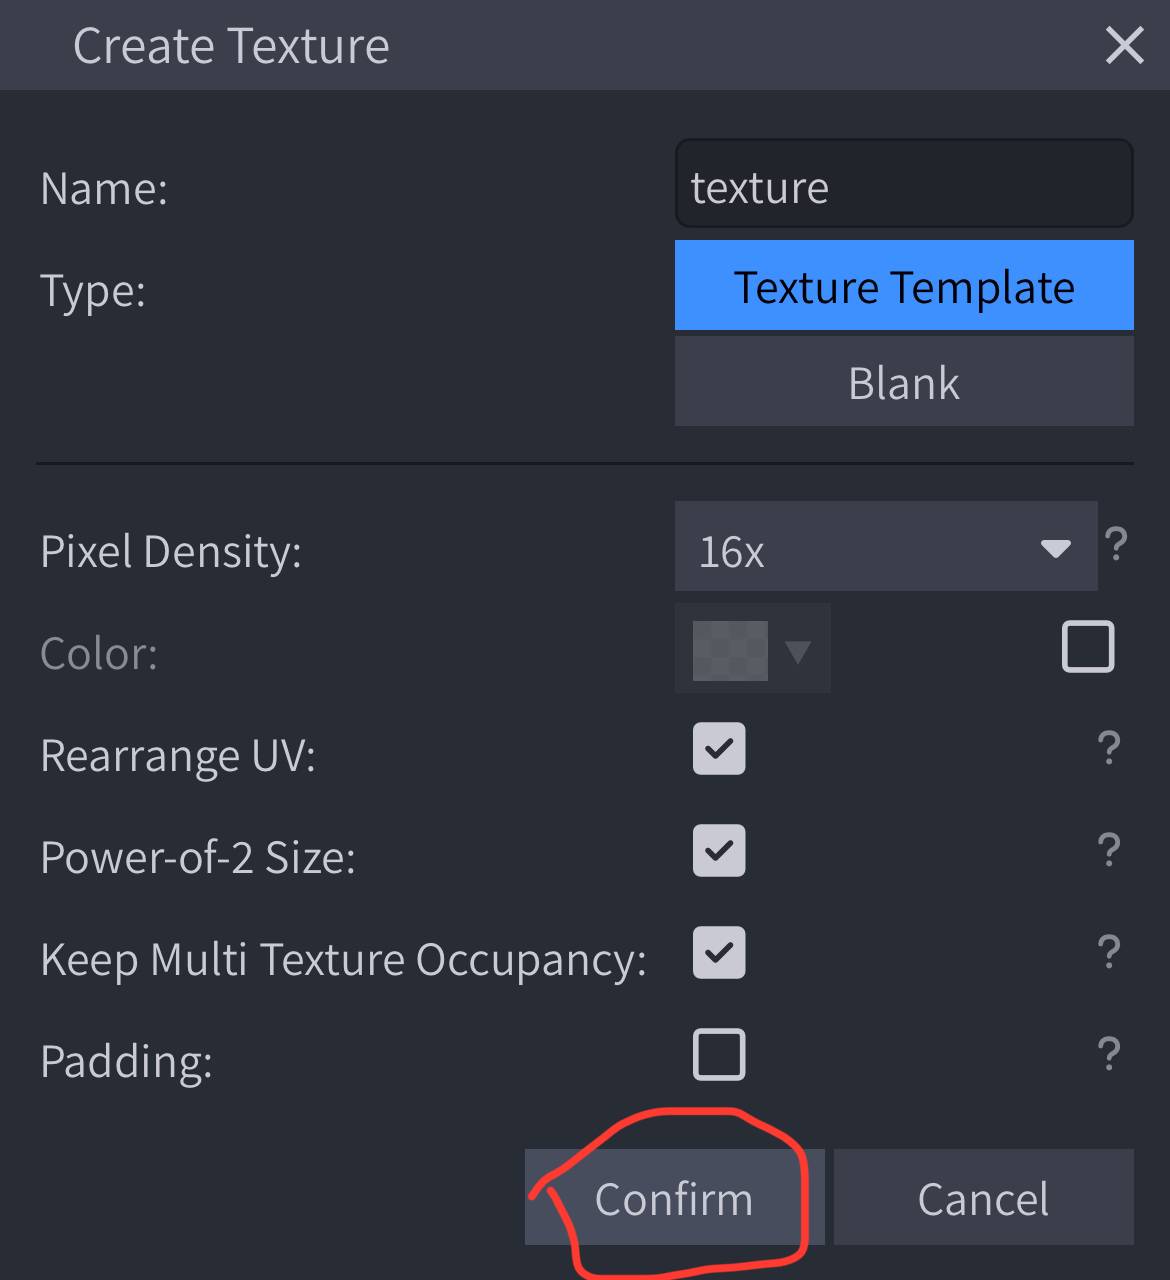
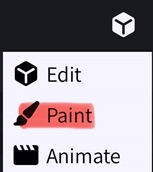
-- Switch to the Paint tab (press the cube icon).
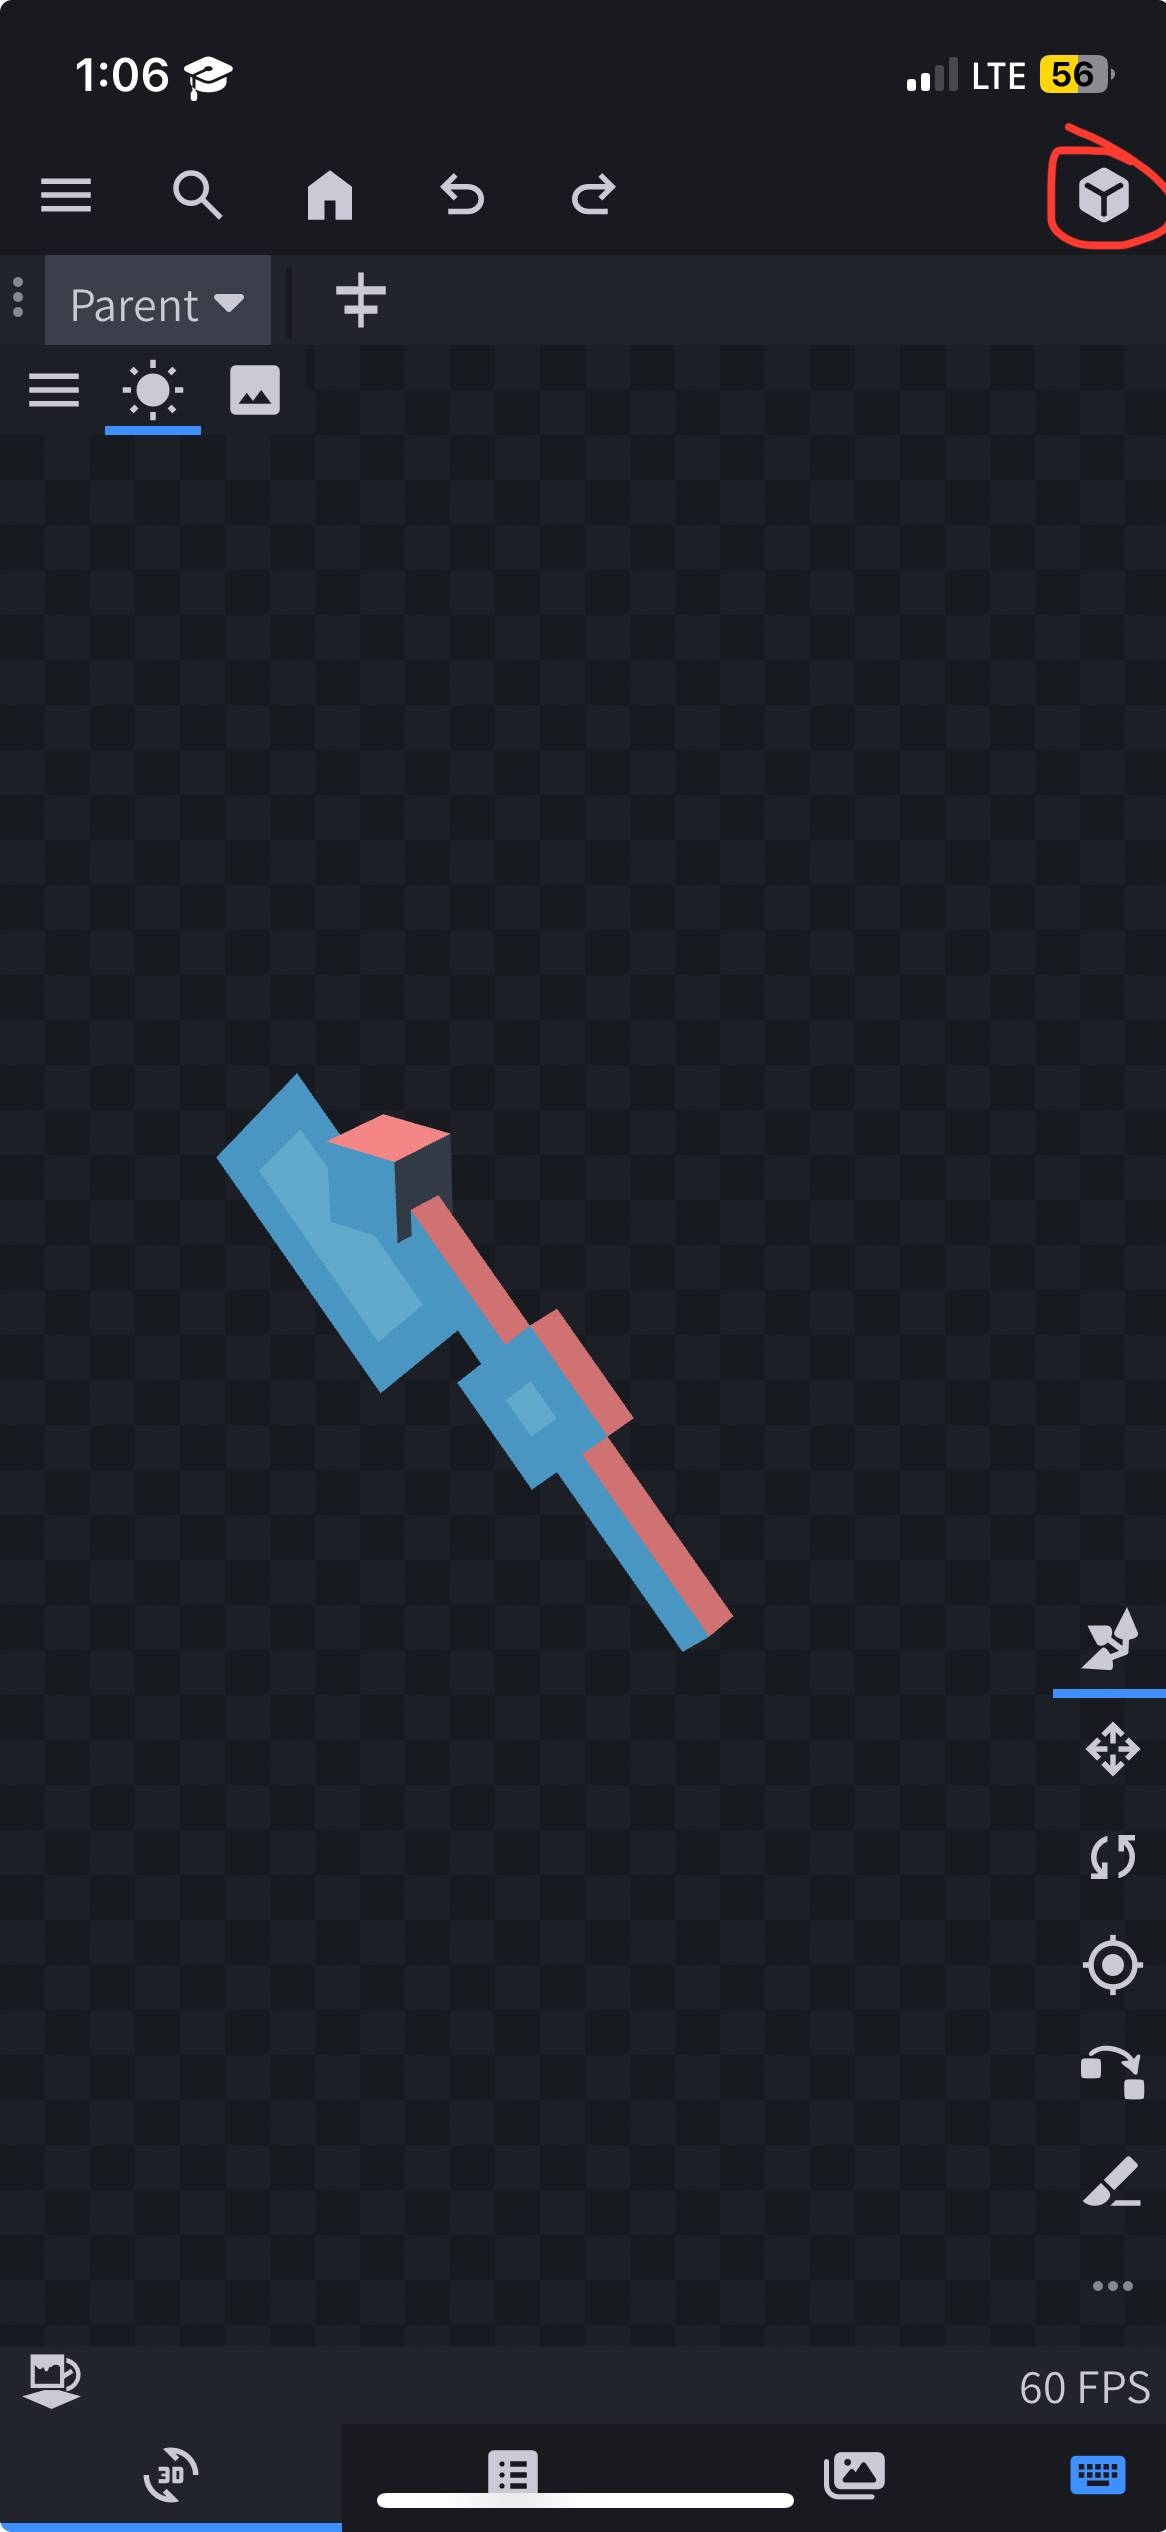
-- Press the “Paint” icon to begin.
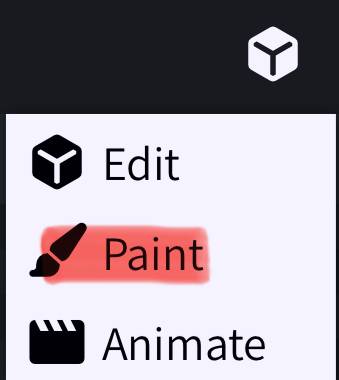
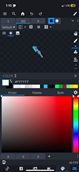
9. Changing colors.
-- Use the palette icon to access colors. Adjust the slider below to add more colors.
-- Experiment with the tools on the right (Mobile) before painting for real.
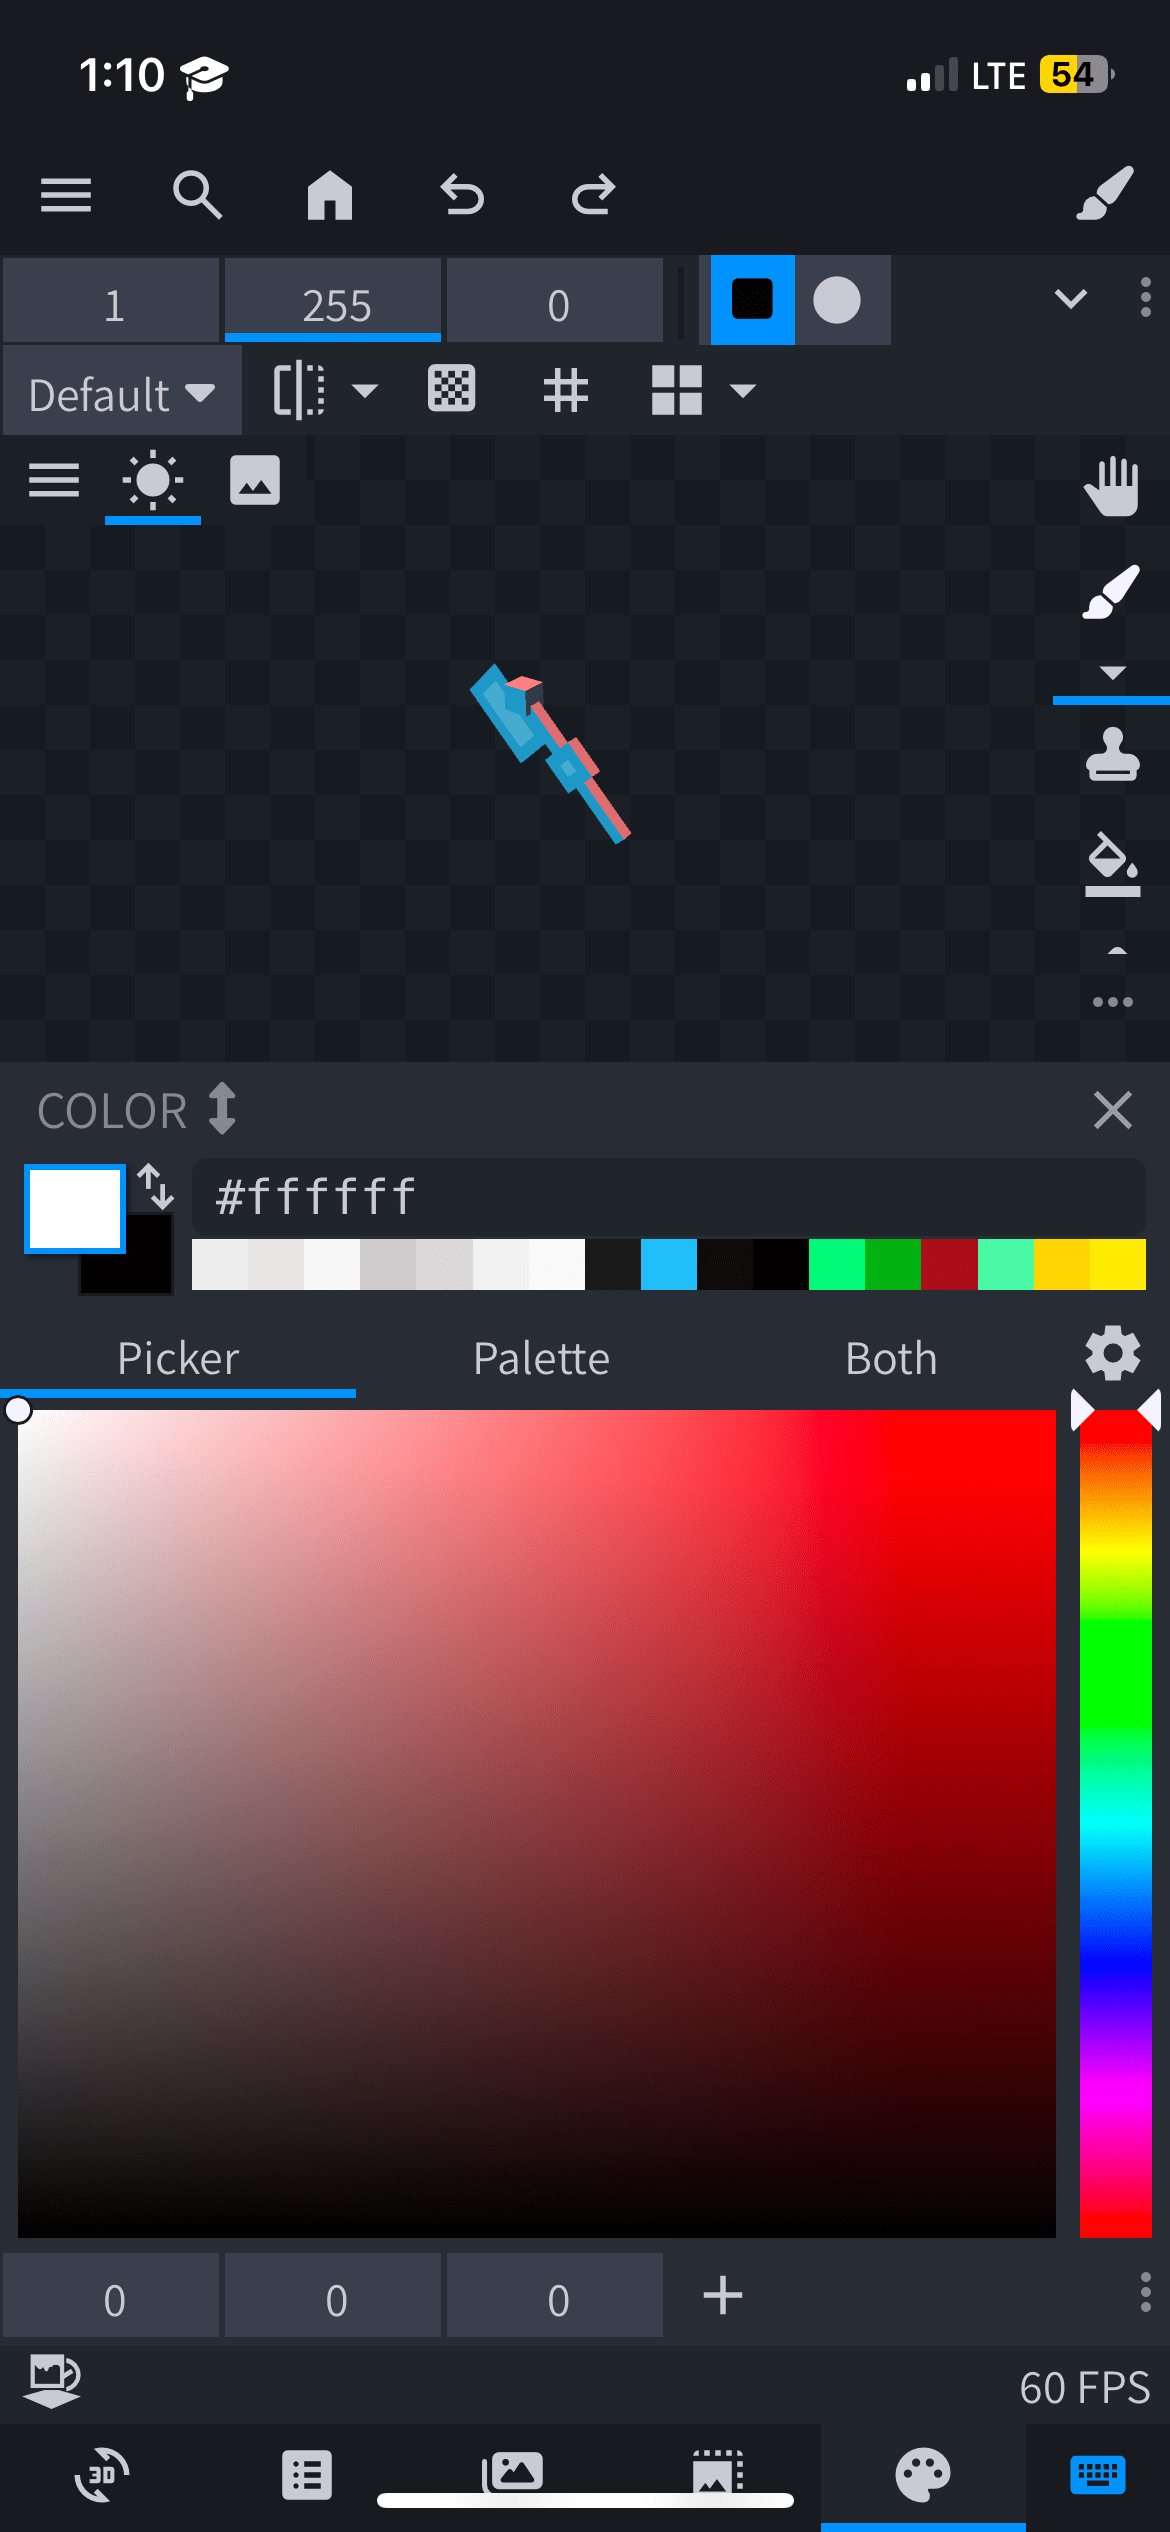
10. Now its time to paint! Press a pixel on the model to colour/change it. For this tutorial, I will not include the painting process. Just know that there are tutorials for certain thing not mentioned in this tutorial.
11. At this point, we are done modeling! Now its time to export for the cosmetic to be visible ingame.
-- First, lets save the texture. Save your texture by navigating to File > Save Model. A prompt will appear asking where to save it.
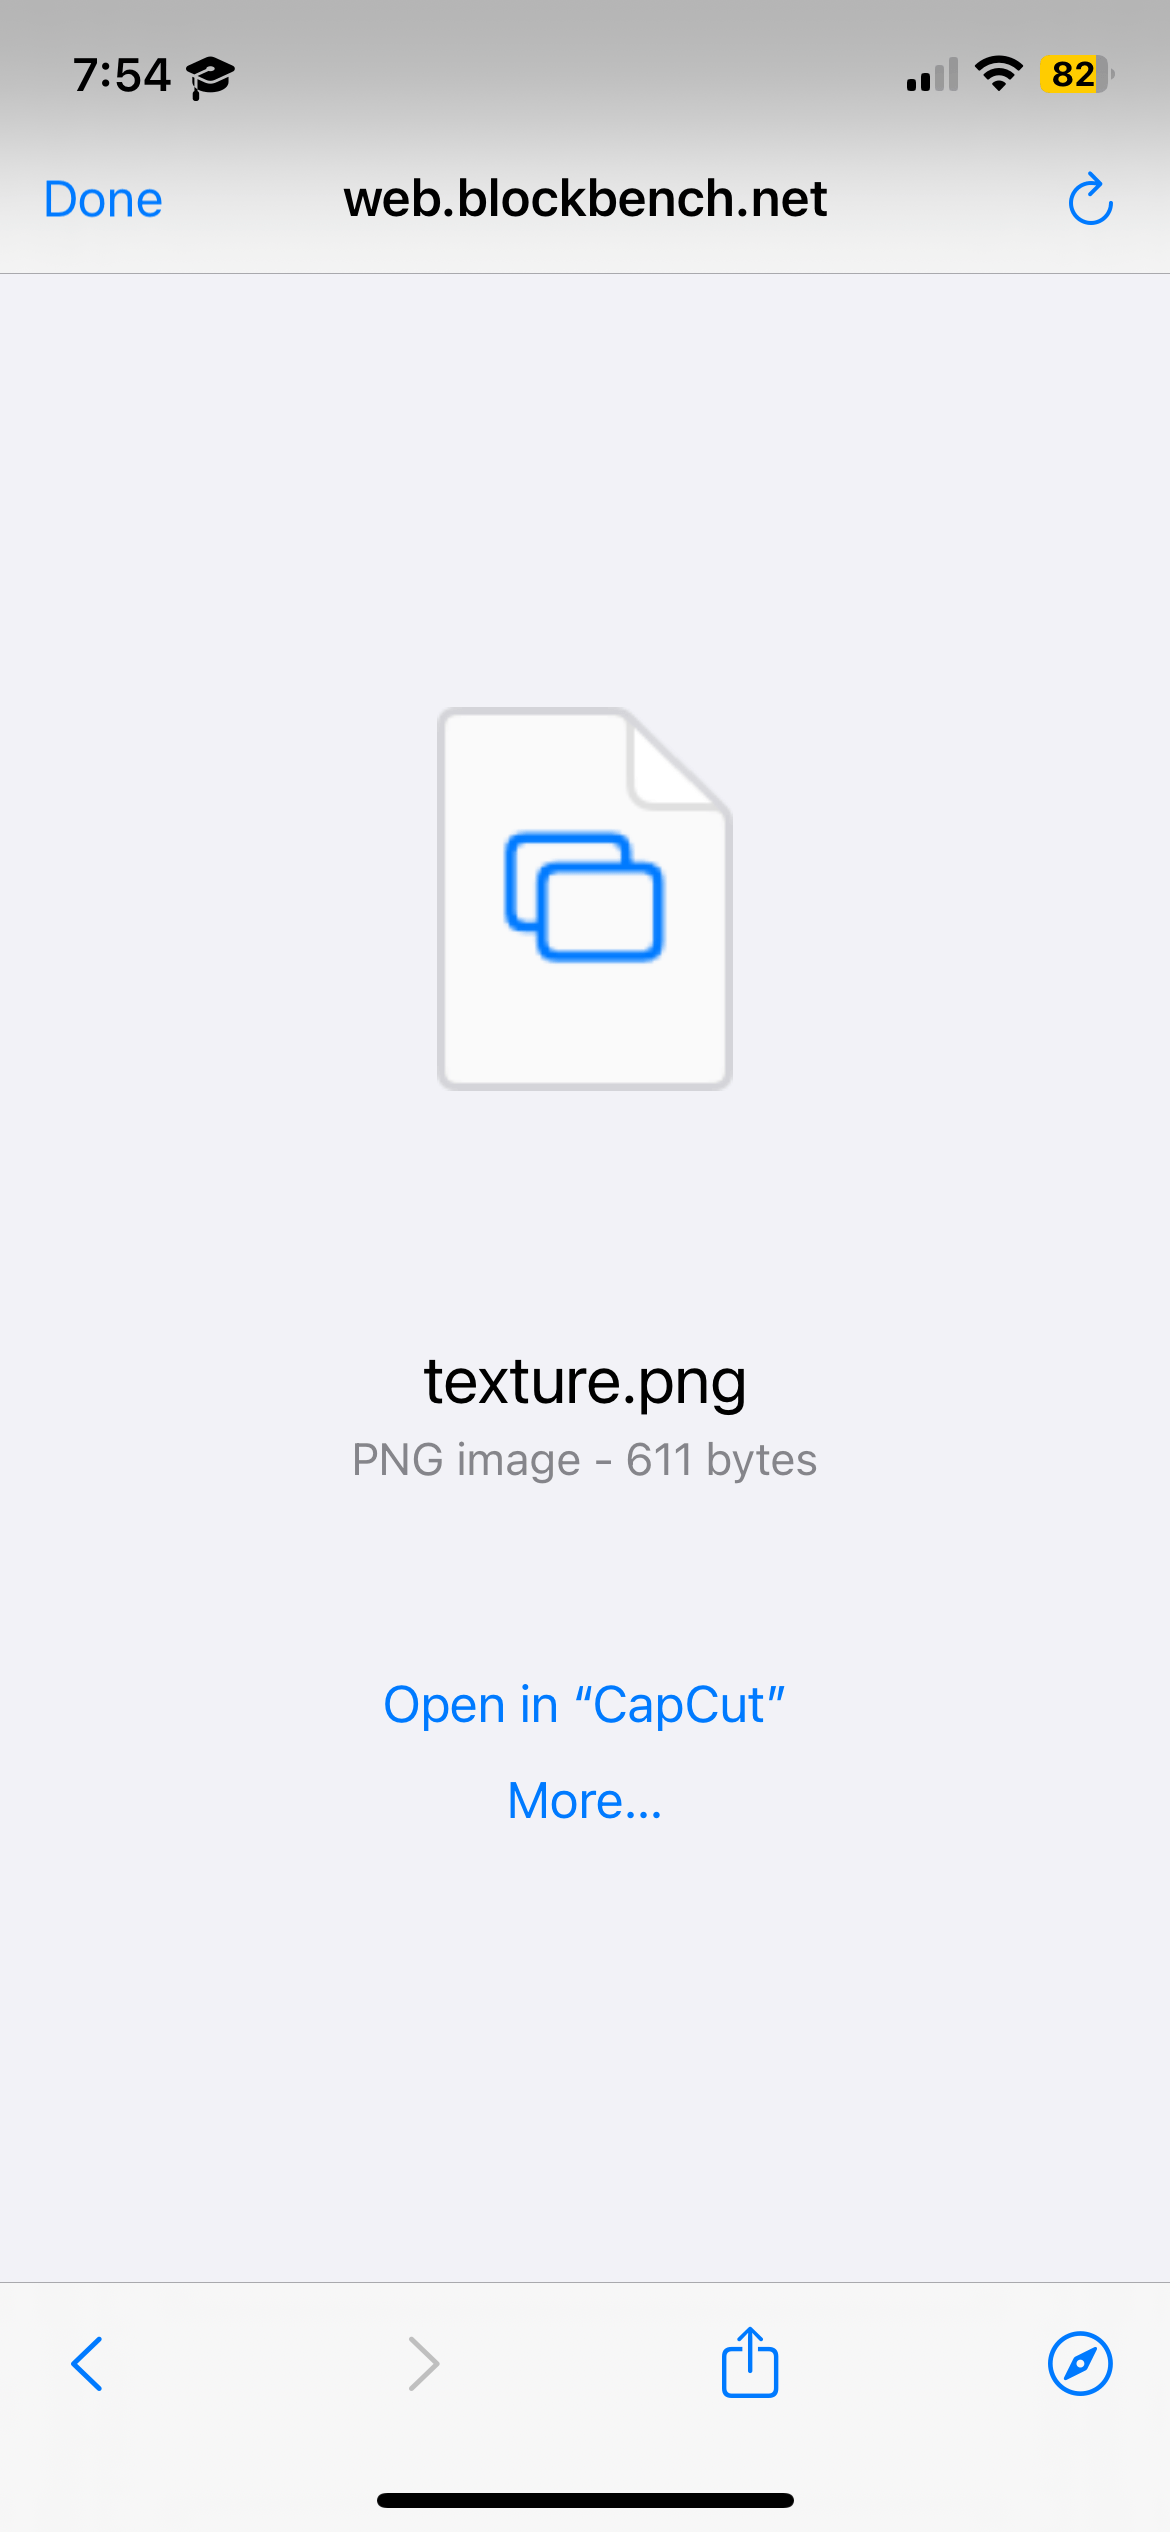
-- Save it to the following path:
--- iOS: On My iDevice/Minecraft/games/com.mojang/resource_packs/Cake’Cosm/subpack/slot1-5/textures/entity
--- Android: Android/com.mojang.minecraftpe/files/games/com.mojang/resource_packs/Cake’sCosm/subpack/custom1-5/textures/entity
--- Windows: C:/Users/(your pc username)/AppData/Local/Packages/Microsoft.MinecraftUWP_8wekyb3d8bbwe/LocalState/games/com.mojang/resource_packs/Cake’sCosm/subpack/custom1-5/textures/entity
--- Console: Good luck
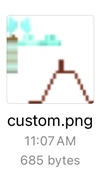
12. Delete the old texture and rename the new one to "custom.png". Once we are done, this texture will be used ingame.
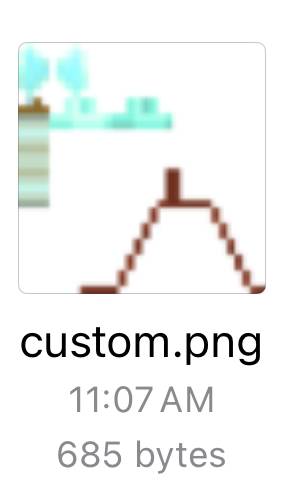
13. Export the updated model. Repeat Step 11, but this time save the model to the following path:
-- iOS: On My iPhone/Minecraft/games/com.mojang/resource_packs/Cake’sCosm/subpack/custom1-5/models
-- Android: Android/com.mojang.minecraftpe/files/games/com.mojang/resource_packs/Cake’sCosm/subpack/custom1-5/models
-- Windows: C:/Users/(your pc username)/AppData/Local/Packages/Microsoft.MinecraftUWP_8wekyb3d8bbwe/LocalState/games/com.mojang/resource_packs/Cake’sCosm/subpack/custom1-5/models
-- Console: Good luck
-- Replace the old file and rename the new one to "mobs.json".
14. Test your model in-game. If the model appears as desired, you’re done! Enjoy the game with your new cosmetic.
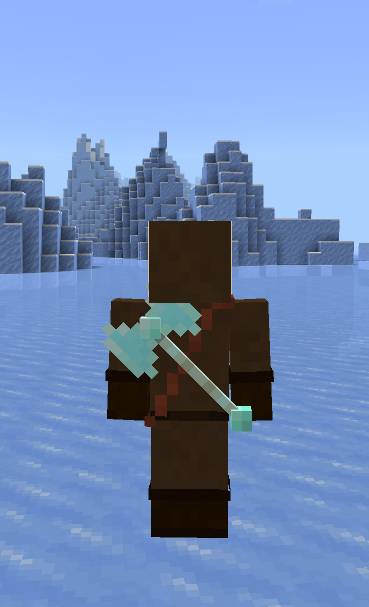
-- If there are leftover cubes from the placeholder model, remove them to avoid rendering issues like Z-fighting (when two elements with the same position tries to render simultaneously).
2nd Tutorial: Character creator compatibility for head cosmetics
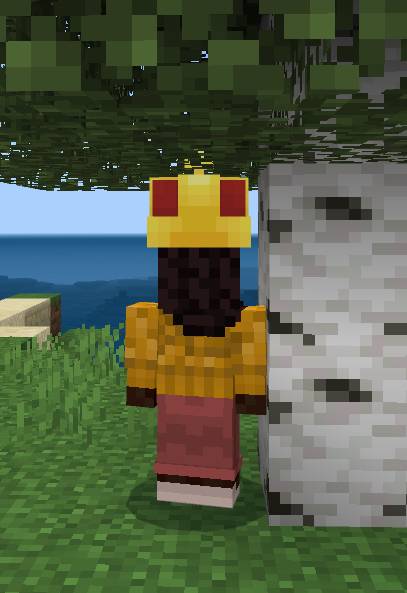
• Character Creator skins (also referded as Persona in the files) are unique because they work differently than the player’s base entity file. Due to this, the base player.entity.json file doesnt render character creators skins.
• However, a well-known resource pack creator named Rainvay has found a way, and the persona enabler resource pack uses this method to enable Character Creator skins! Credits to her.
-- Explanation aside, This section of the tutorial is dedicated to adding Character Creator compatibility for basic head cosmetics, as they require some setup. Compared to back cosmetics. Arm cosmetics compatibility may be added later and more complicated cosmetics, may not work properly.
• What you'll need:
-- The same tools from the first tutorial
-- A text editor for the bonus step
1. Either import your model onto blockbench, or use a text editor to open your model. The crown model in the cosmetic pack will be used in this tutorial with blockbench as the easier option.
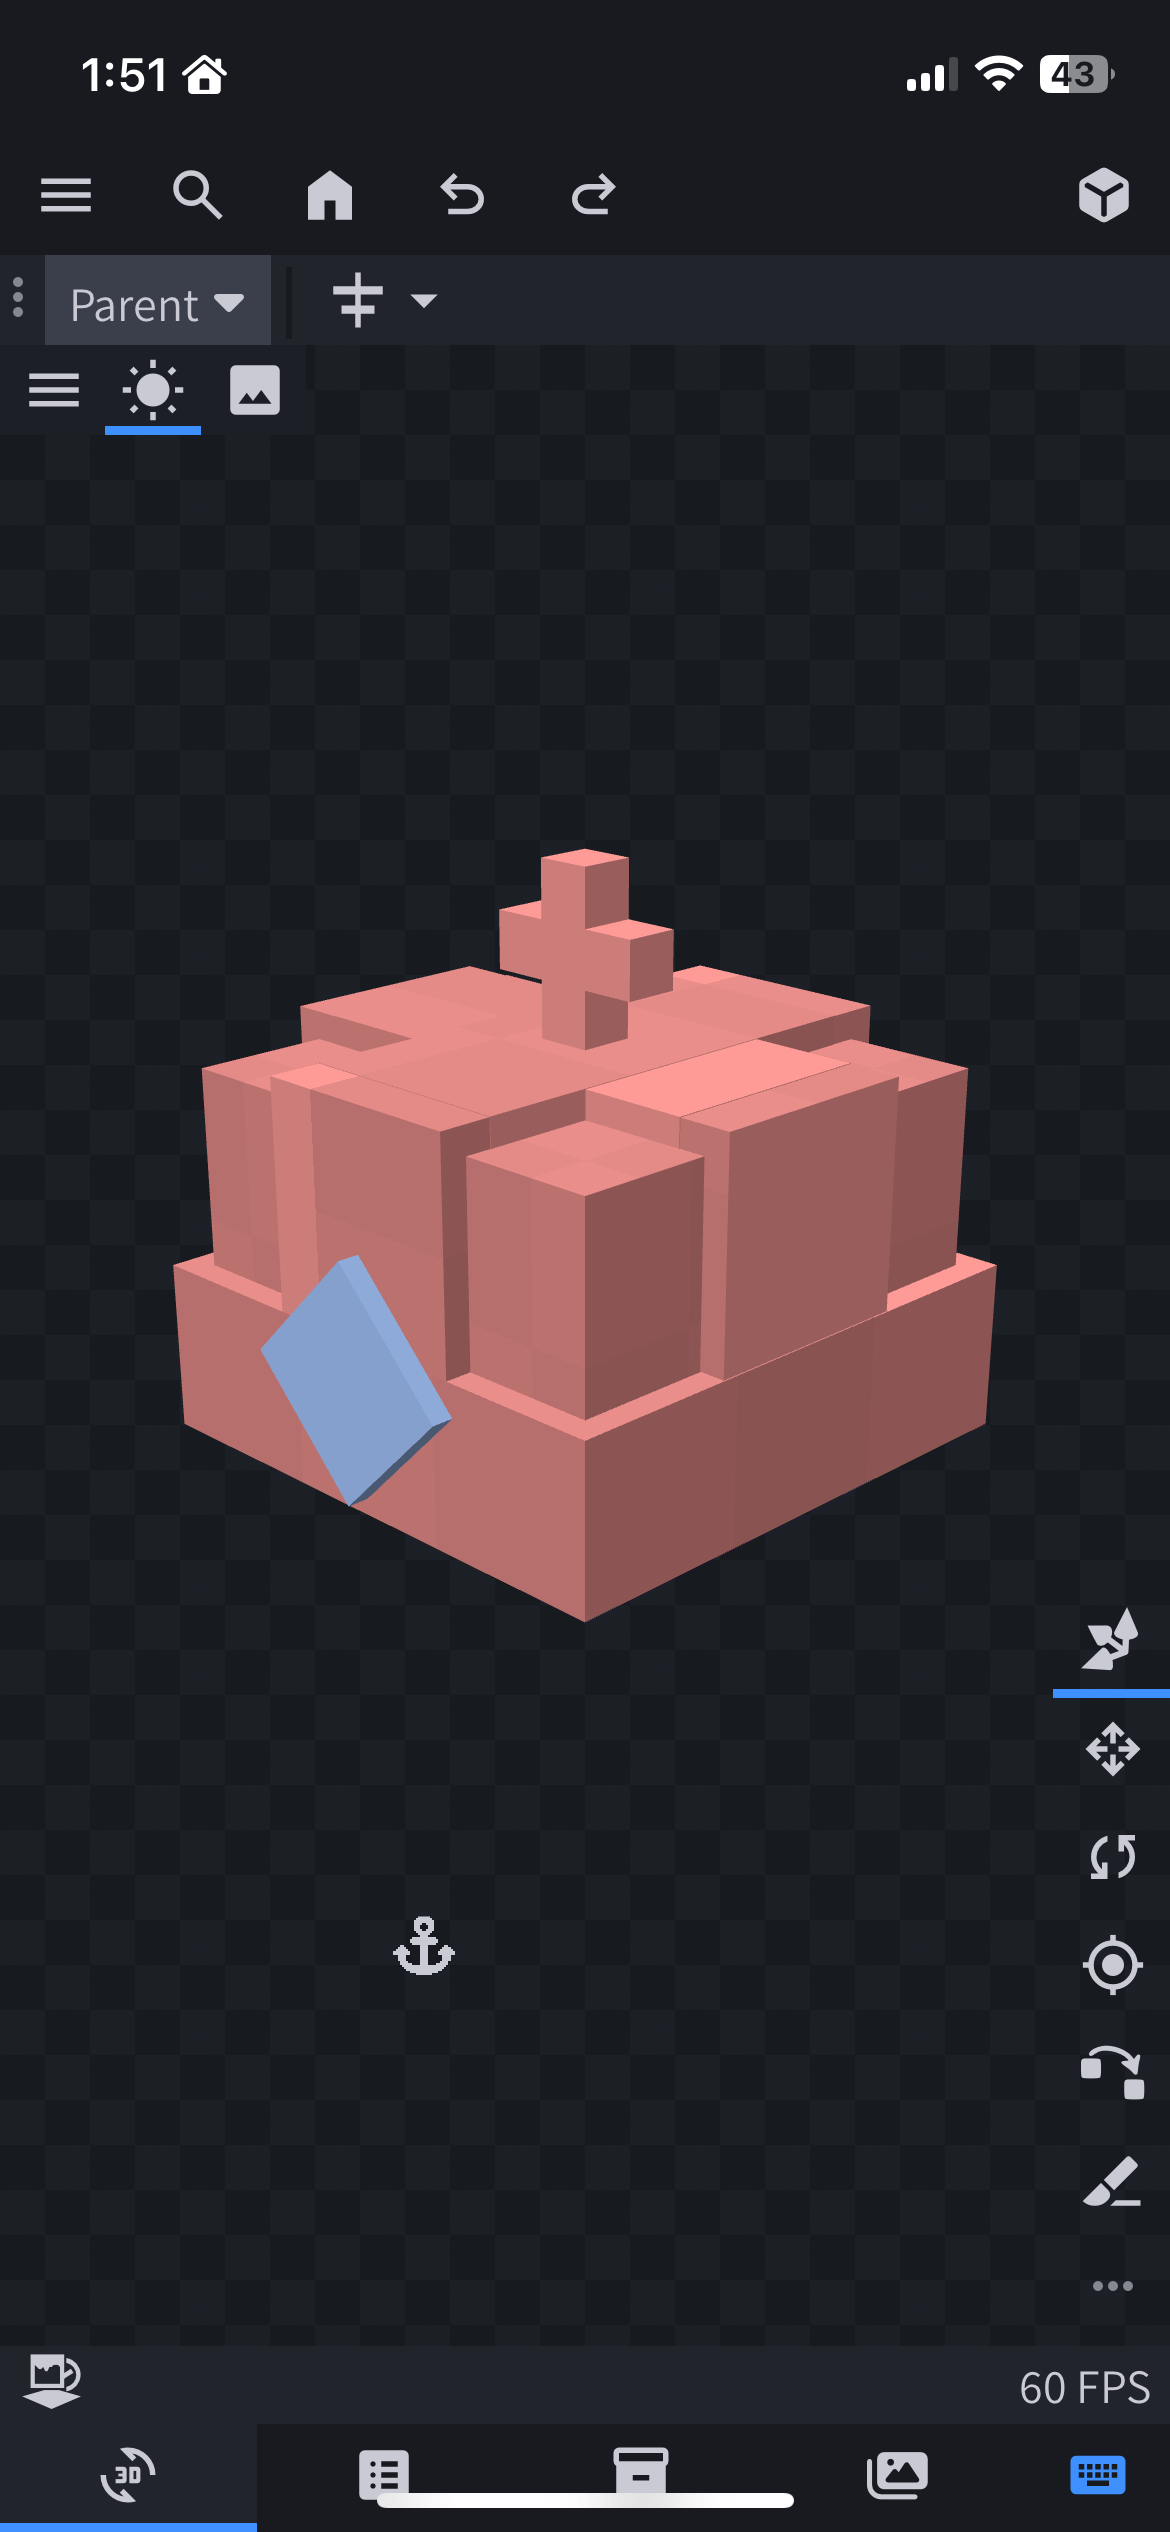
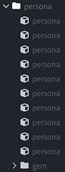
2. Create a bone inside the head’s bone named "persona". This is needed to have the cosmetic move on the head.
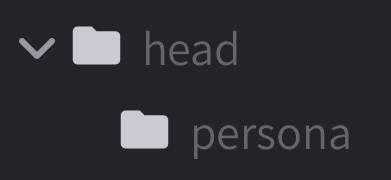
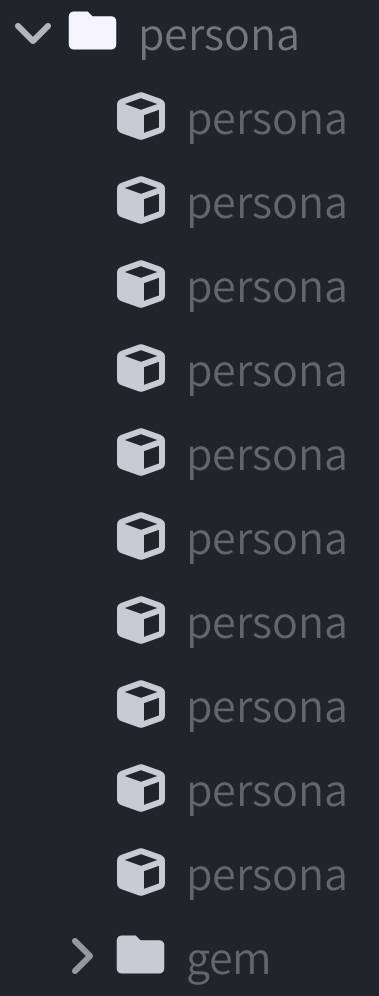
3. Import all your current cubes inside the "persona" bone.
4. Import you model into the pack’s files. You can refer to Step 3 in the basic tutorial as a refresher.
5. Test your model in-game. If the cosmetic gets offset with the player’s size, tutorial done!
Bonus step: To add compatibiltiy for back cosmetics with custom animation, import this line of code inside the "cape" bone above the rotation. You’ll need a text editor for this one:
"position" : [ 0.0, "q.get_root_locator_offset('armor_offset.default_neck', 1)", 0.0 ],
3rd Tutorial: Use the players texture
• Sometimes, you may want to make a cosmetic that uses one, or multiple player textures. Well thats where this tutorial comes for those who dont know!
-- Side note: The tutorial will automaticaly assume you finish the first tutorial and have your model finished, as those basics steps will not be mentioned.
• What you'll need:
-- A file editor, mostly.
1. locate or create a "render_controllers" folder. This is where we will do most of our work.
-- If youre using one of the custom slots, it is recommended that you create the folder within the slot, as to avoid breaking things.
2-1. Create the following file:
-- Name: cape.render_controllers.json
--- It could have any name really, but i recommend that you keep the ".render_controllers.json" part, as its somewhat necessary.
-- Contents (copy-paste the following):{ "format_version": "1.8.0", "render_controllers": { "controller.render.cape": { "geometry": "Geometry.cape", "materials": [ { "*": "Material.cape" } ], "textures": [ "Texture.default" ], "is_hurt_color": { "r": 0, "g": 0, "b": 0, "a": 0 }, "on_fire_color": { "r": 0, "g": 0, "b": 0, "a": 0 } } }}
2-2. If the file already exist, replace the textures section with "Texture.default". DO NOT change anything else, only the textures section!
3. Save any changes, if manual saves has to be done.
4. And thats it! You should now be able to use the player's skin in your cosmetics!
-- Why this works: The reason why is because the default texture is the player's texture. So bu doing this, you're telling the game to apply the default texture to the cosmetic.
Final Notes
-- If anything is unclear, check out additional Blockbench tutorials online. More specifically, the ones for minecraft bedrock mob modeling.
The Ultimate Guide to Cake’s Cosmetic Pack
If you are exploring the vast world of Minecraft modifications, Cake’s Cosmetic Pack by Cakeofcraft is a standout texture that deserves your attention. With over 42,196 downloads, it has become a staple for players looking to enhance their experience. As the creator describes it, this project is "Choose or create your cosmetic!". Whether you are a veteran builder constructing massive cities, or simply a casual player looking to upgrade your survival world, this guide will provide you with all the essential details on how Cake’s Cosmetic Pack alters the game.
What Makes It Special?
Unlike standard textures that simply alter superficial elements, Cake’s Cosmetic Pack introduces a wide array of visual and mechanical features designed to seamlessly blend into the vanilla aesthetic. Cakeofcraft has clearly spent significant time refining the project to ensure that every aspect feels polished and responsive for version 1.21.124.
Installation Guide
Getting Cake’s Cosmetic Pack up and running is straightforward. Follow these step-by-step instructions:
- Verify Your Version: Ensure your Minecraft launcher is set to version 1.21.124.
- Install Mod Loader (if required): If this is a mod, download the compatible loader (Forge, Fabric, NeoForge).
- Download the File: Click the secure download button above to retrieve the official file from CurseForge.
- Move the File: Place the downloaded file into your `mods`, `shaderpacks`, or `resourcepacks` folder depending on the texture type.
- Launch and Enjoy: Open Minecraft, navigate to the respective settings menu, and activate Cake’s Cosmetic Pack.
Compatibility & Performance
Compatibility is robust. Cake’s Cosmetic Pack is designed specifically for version 1.21.124, taking full advantage of the latest engine optimizations. During typical gameplay, this addition maintains a stable frame rate, though lower-end laptops might experience slight stuttering. We recommend pairing this with performance boosters like Sodium or Iris to guarantee a silky-smooth experience.