Why Ponky's Custom Capes is a top-tier texture pack mod for Minecraft 1.21.132
Developed by the talented creator ponkyy, Ponky's Custom Capes stands out as a highly recommended selection for your Minecraft client. It is fully optimized, compatibility-tested, and brings a major upgrade to the gameplay experience in Minecraft version 1.21.132.
⚙️ Quick Resource Specs
| Mod Creator | ponkyy |
| Latest Version | 1.21.132 |
| Supported Game Versions | 1.21.132 |
| File Size | 10.78 KB |
| Last Updated | |
| Total Downloads | 22,023 downloads |
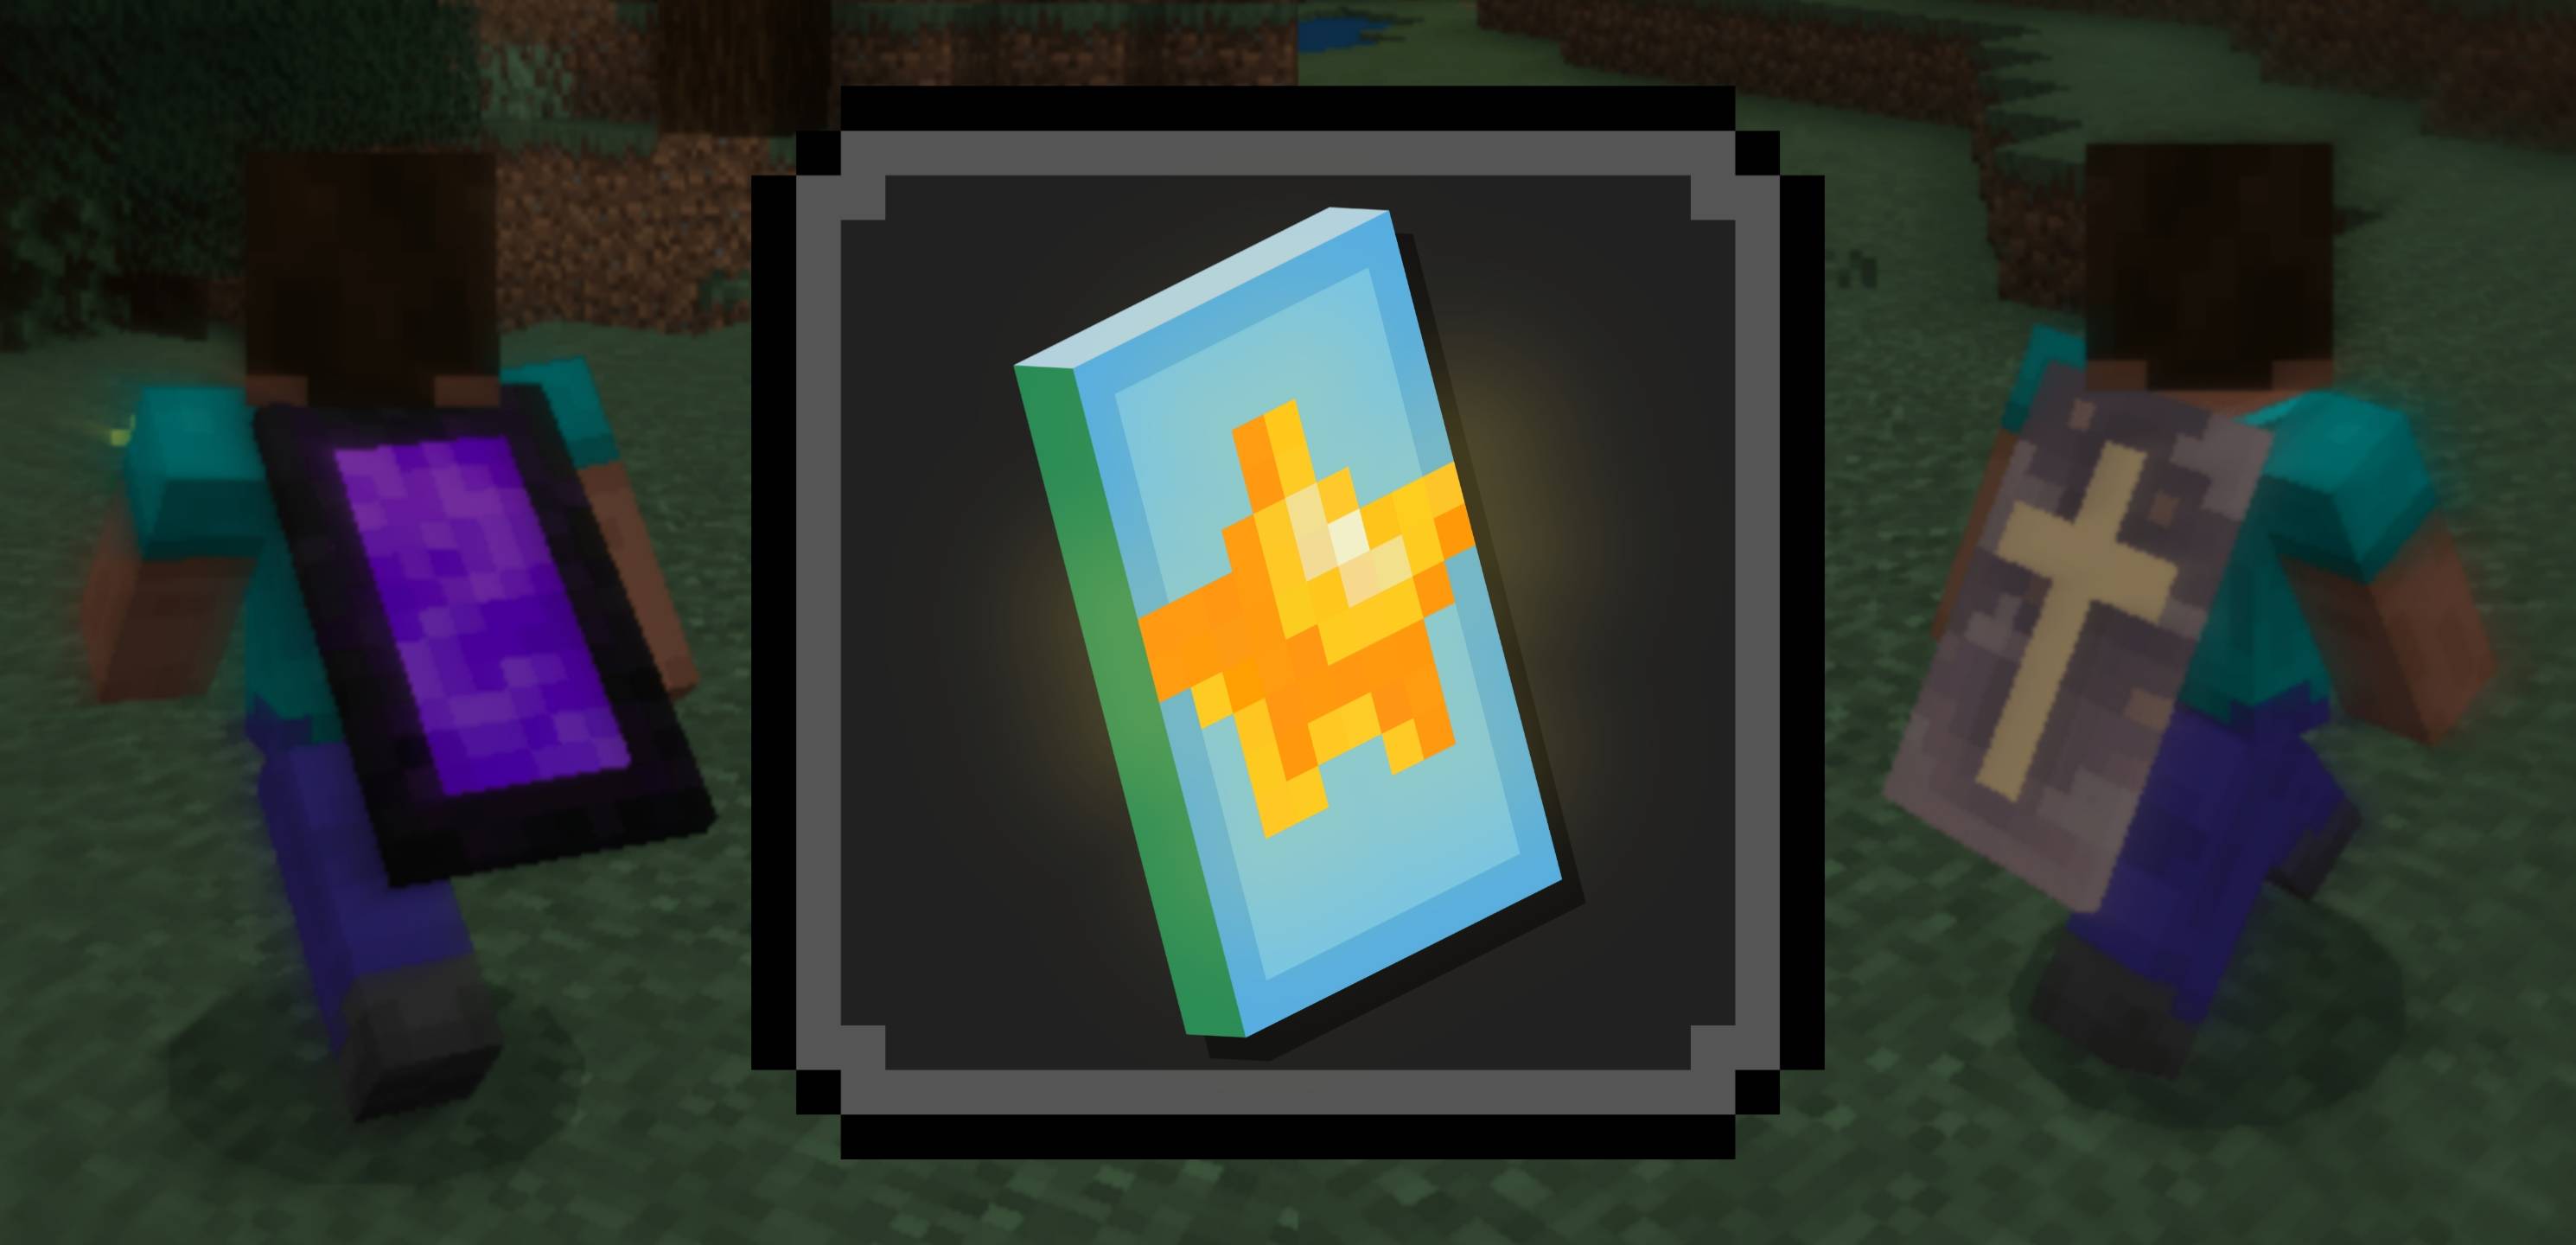
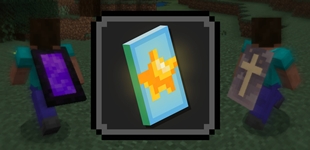
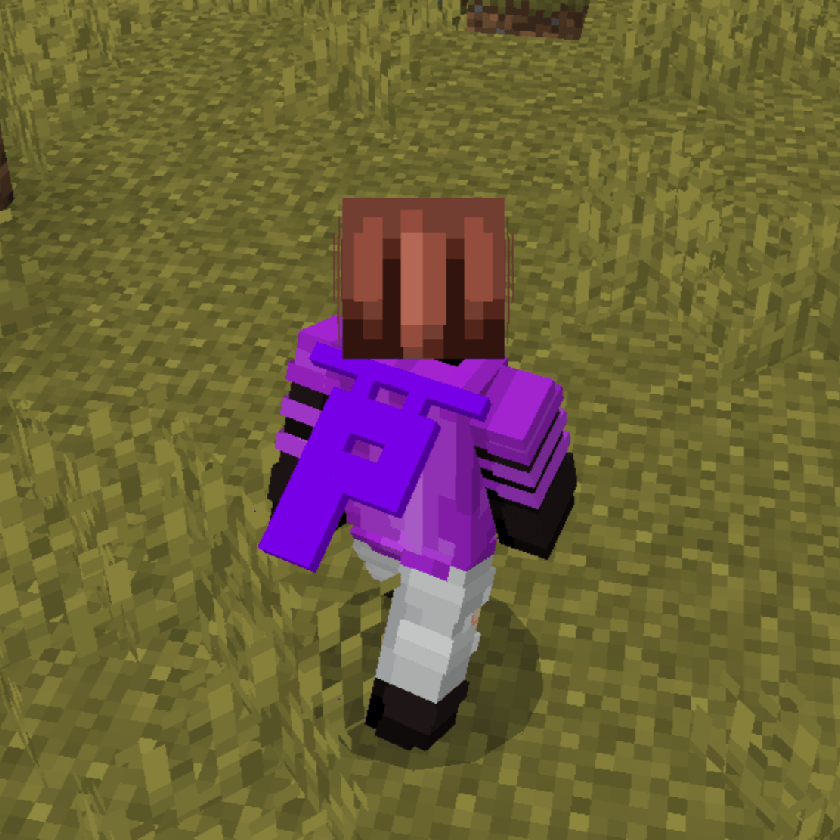
This pack allows you to display a working cape, which other players can see. All players will require the resource pack
All you need to do is edit your skin file!
Support me: https://coff.ee/ponky
Tutorial:
First, create your cape. I recommend a sizing of 10x16, but if you wish to, a 20x32 cape can be used with a 128x skin (this is not recommended and can lead to visual issues).
You can now have two layers on your cape! The main layer, and the over layer. Either can be left blank if you want to.
Any design will work, but only fully opaque or fully transparent pixels will display correctly (for now). Due to the new modeling logic, the cape can be any shape you like and will still display as 3D!
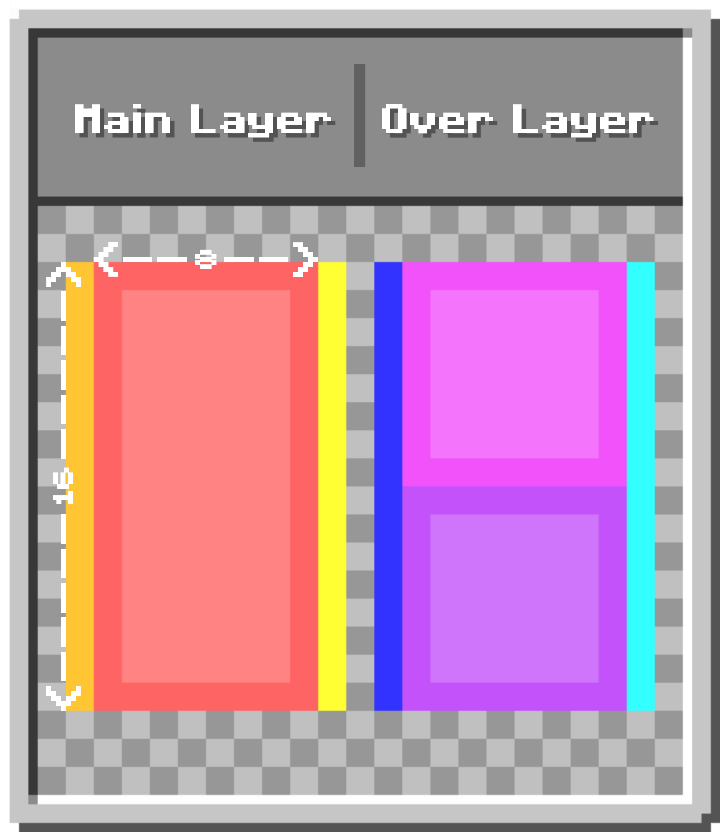
Next, place your cape into your skin file, moving the relevant sections to their place, as detailed below. Use the key as a reference:
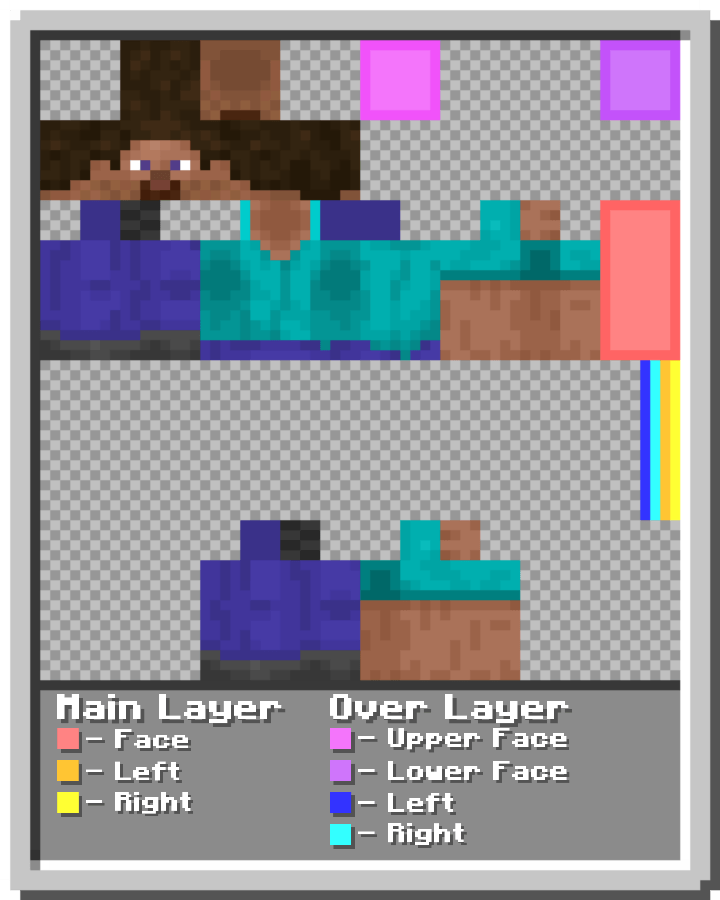
Finally, import your skin, activate the resource pack and enjoy your fancy new cape!! (Note: the cape won't show up in the dressing room)
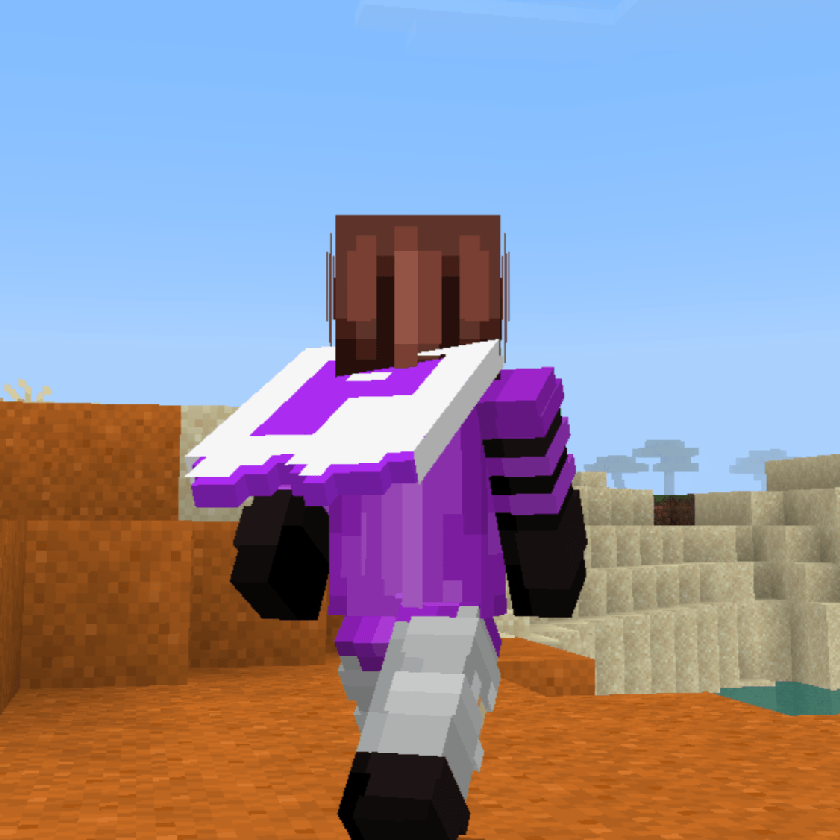
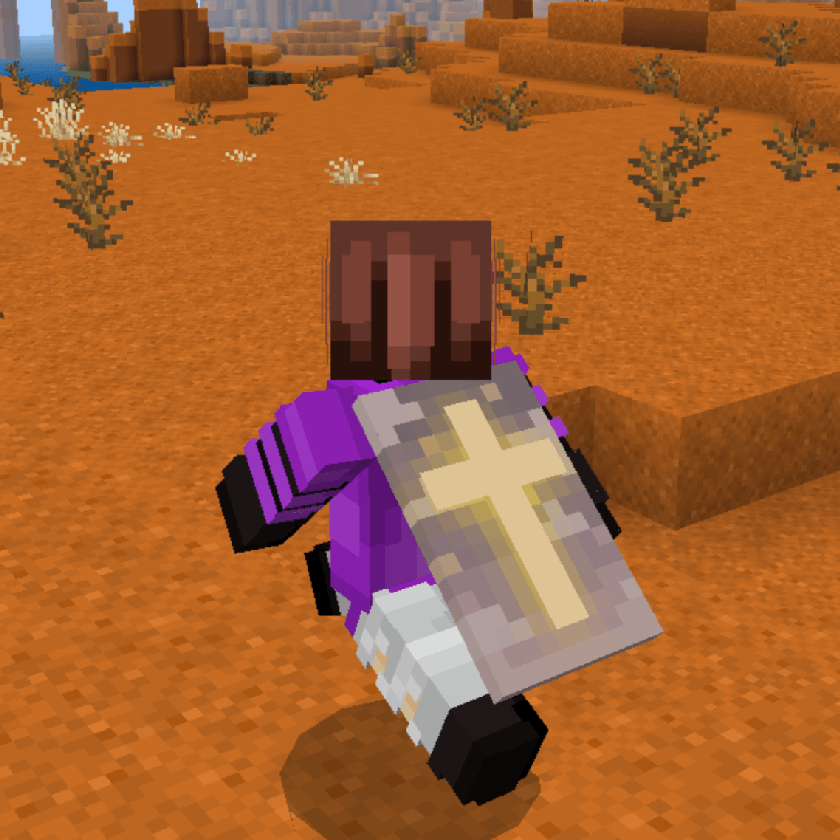
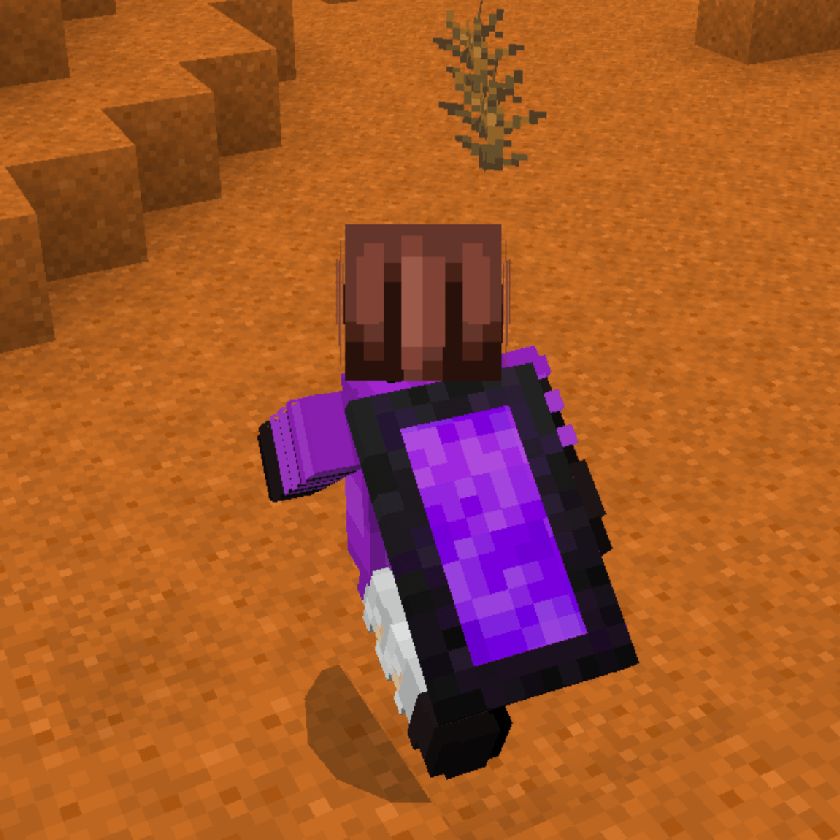
Changes in V1.1:
- Decreased overall pack size
- Cleaned up messy, redundant code
- Changed manifest
Changes in V1.2:
- Improved model to allow for any shape
- Added 2nd layer for cape
- Optimized code
- Changed manifest
The Ultimate Guide to Ponky's Custom Capes
If you are exploring the vast world of Minecraft modifications, Ponky's Custom Capes by ponkyy is a standout texture that deserves your attention. With over 22,023 downloads, it has become a staple for players looking to enhance their experience. As the creator describes it, this project is "Create a custom cape, which other players with this pack can see, just by editing your skin file!". Whether you are a veteran builder constructing massive cities, or simply a casual player looking to upgrade your survival world, this guide will provide you with all the essential details on how Ponky's Custom Capes alters the game.
What Makes It Special?
Unlike standard textures that simply alter superficial elements, Ponky's Custom Capes introduces a wide array of visual and mechanical features designed to seamlessly blend into the vanilla aesthetic. ponkyy has clearly spent significant time refining the project to ensure that every aspect feels polished and responsive for version 1.21.132.
Installation Guide
Getting Ponky's Custom Capes up and running is straightforward. Follow these step-by-step instructions:
- Verify Your Version: Ensure your Minecraft launcher is set to version 1.21.132.
- Install Mod Loader (if required): If this is a mod, download the compatible loader (Forge, Fabric, NeoForge).
- Download the File: Click the secure download button above to retrieve the official file from CurseForge.
- Move the File: Place the downloaded file into your `mods`, `shaderpacks`, or `resourcepacks` folder depending on the texture type.
- Launch and Enjoy: Open Minecraft, navigate to the respective settings menu, and activate Ponky's Custom Capes.
Compatibility & Performance
Compatibility is robust. Ponky's Custom Capes is designed specifically for version 1.21.132, taking full advantage of the latest engine optimizations. During typical gameplay, this addition maintains a stable frame rate, though lower-end laptops might experience slight stuttering. We recommend pairing this with performance boosters like Sodium or Iris to guarantee a silky-smooth experience.